

Marbling trick creates mesmerizing swirling patterns that turn ordinary crafts into colorful masterpieces. As your brush glides over a surface, the paint dances and twirls, inviting you into a world where colors blend and merge at their own pace. Each swirl brings a small thrill, a moment of quiet joy, where the chaos of daily life feels distant. The gentle rhythm of your hands as you create becomes your anchor, transforming not just the materials before you but also your state of mind. Such a simple act connects us to a soothing flow, calming our spirit and encouraging us to immerse ourselves fully in the moment.
The Heart Behind This DIY
This marbling project offers more than just a way to add color to your space. It invites you to slow down and revel in the process. Engaging with the materials invokes a gentle focus, allowing your thoughts to quiet and your creativity to awaken. As the paint spreads, the sensory experience unfolds. You can feel the smoothness of the surface beneath your fingers, hear the subtle brush strokes against the texture, and see the beauty of the colors blending together. Each swirl captures a sensation, a feeling; it’s both tactile and visual, grounding you in the now.
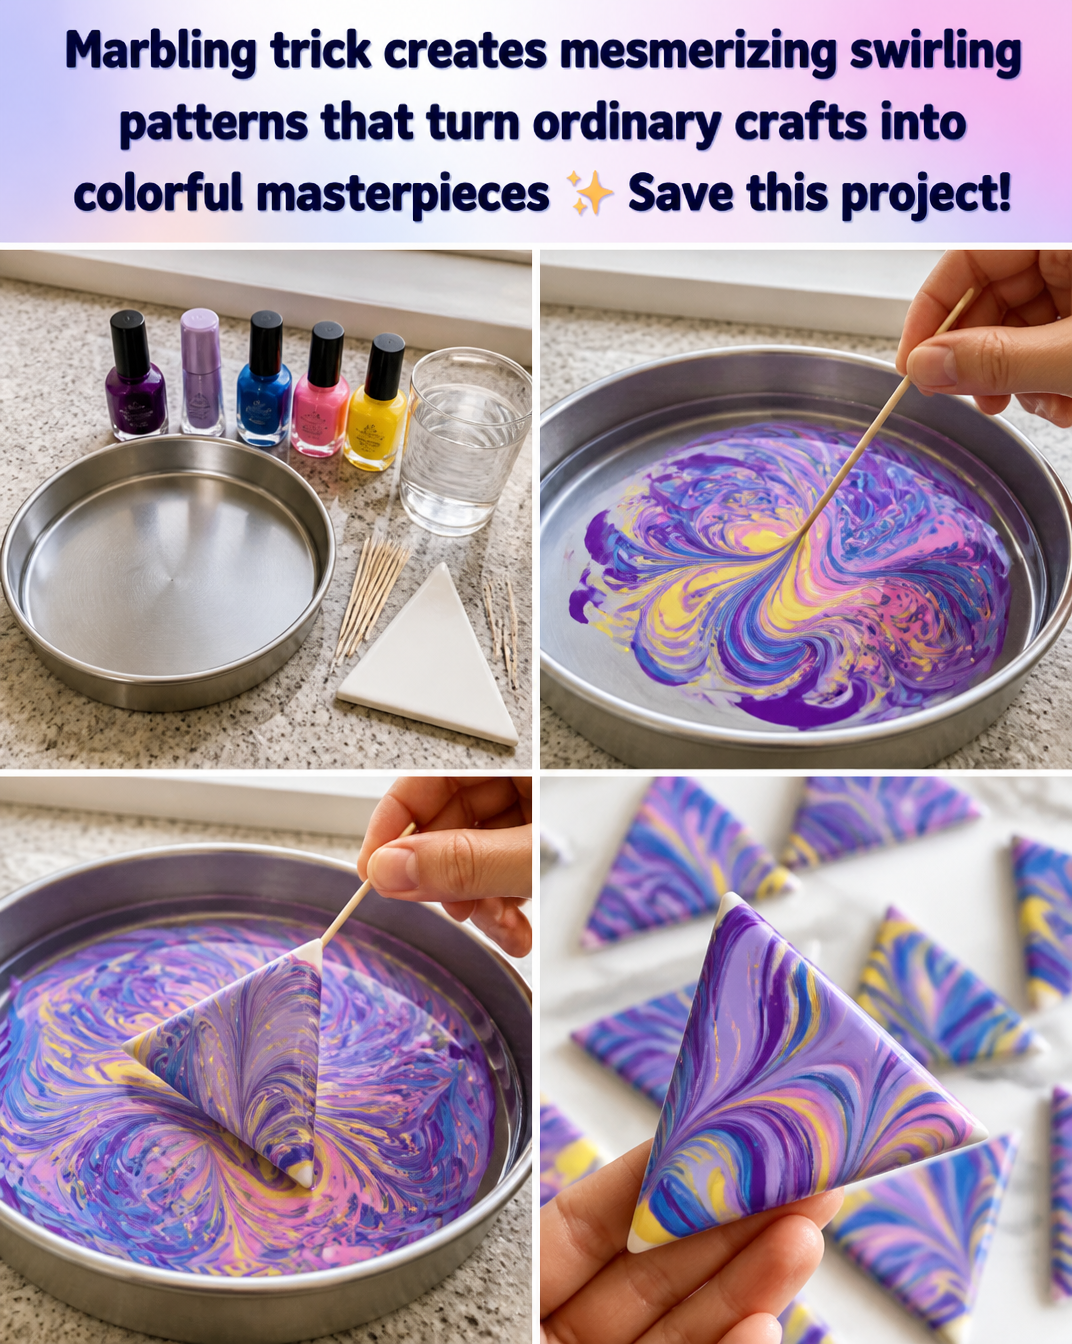
This process allows for a moment of mindfulness. It is a reminder that life, like marbling, can be unpredictable. The way paints interact embodies a calming acceptance of that unpredictability. You learn to embrace the happy accidents, appreciating the beauty of imperfection. Each piece created is a testament to your creative journey—making it inherently special.
A Gentle Look at the Process
Before gathering your materials, picture the soothing flow of creating with marbling. The anticipation builds as you prepare. Imagine squeezing paint from bottles, the soft squelch providing a comforting rhythm. Each step unfolds gracefully, reflecting a serene dance of colors on your canvas.
You’ll dip brushes, letting the bristles paint delicate waves of hue. The process is meditative, each stroke a gentle movement in the world of vibrant possibilities. Feel how the colors melt into one another, creating interwoven patterns that tell a story—your story.
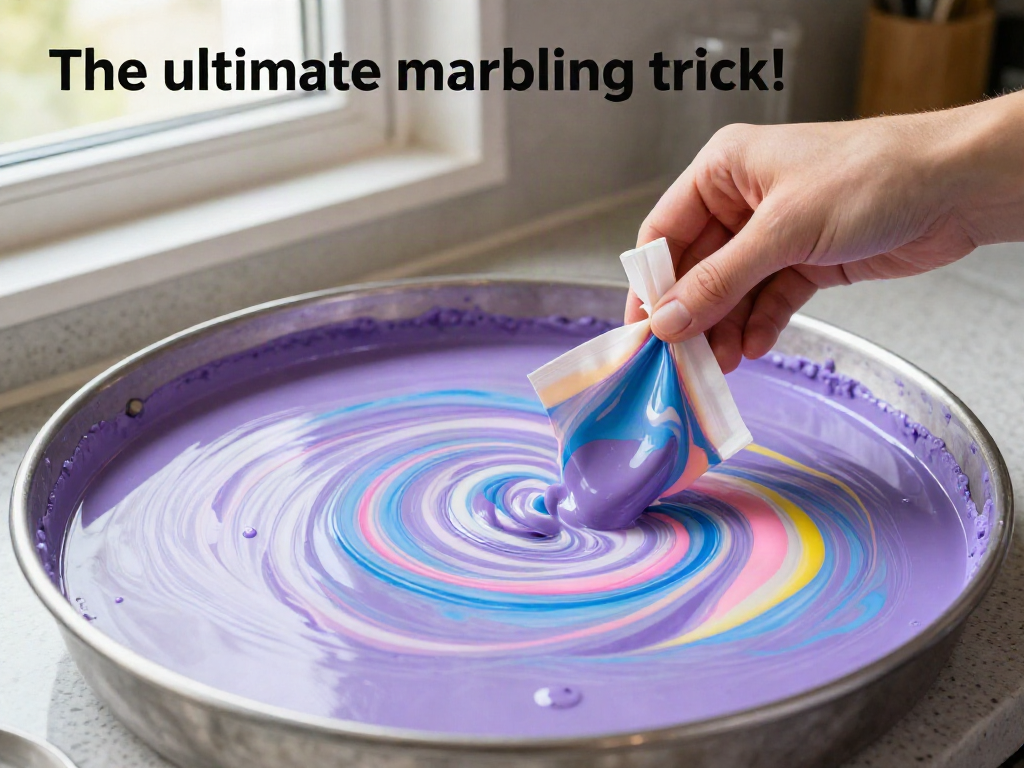
Materials You’ll Need
- White cardstock or canvas (smooth surface recommended)
- Marbling paints or acrylic paints (liquid consistency)
- Shallow dish or tray (for mixing paints)
- Small brushes or droppers (for applying paint)
- Water (to thin the paints if needed)
- Plastic gloves (to keep hands clean—optional)
- Paper towels (for drying or cleaning)
These materials are easy to locate, often found at local craft stores or online. Feel free to substitute acrylic paints with any water-based paints you already have on hand. The goal is to enjoy the process, so choose what feels right.
Step-by-Step Directions
-
Begin by laying down your chosen surface. It could be cardstock or canvas, ideally white, to allow the vivid colors to stand out.
-
Prepare your dish by adding a layer of water. This serves as your marbling base. If you’re using thicker paint, take a moment to thin it slightly with additional water to achieve a fluid consistency.

-
Squeeze small amounts of your first color directly onto the water’s surface. Watch as it floats and expands, creating soft ripples.
-
Choose another color and apply it next to the first. Let the colors mingle naturally, observing how they swirl together. Feel free to use a brush or dropper for added precision.
-
With a gentle hand, use a small brush to lightly drag through the pools of color, creating mesmerizing patterns. Let your intuition guide you; this is about exploration.
-
Carefully place your cardstock or canvas onto the water’s surface, allowing the painted colors to transfer. Press down softly, ensuring even contact.
-
Lift your piece out of the water and place it flat on a towel or clean surface to dry. Watch as the colors settle and define themselves.
-
Once dry, admire your creation. Notice the unique patterns and shades that emerged during your making.
Enjoying the Finished Piece
Once your piece has dried, find a special space to display it. Whether hanging it on a wall or placing it on a desk, allow it to be a reminder of the calmness you experienced during the creation. Each time you pass by, pause and appreciate the colors that shift gently in the light, sparking moments of serenity.
Alternatively, consider integrating these pieces into your daily rituals. They can serve as bookmarks or adornments for gifts, blending beauty and utility in delightful ways. Each interaction with your work continues the cycle of mindfulness, grounding you in creativity and peace.
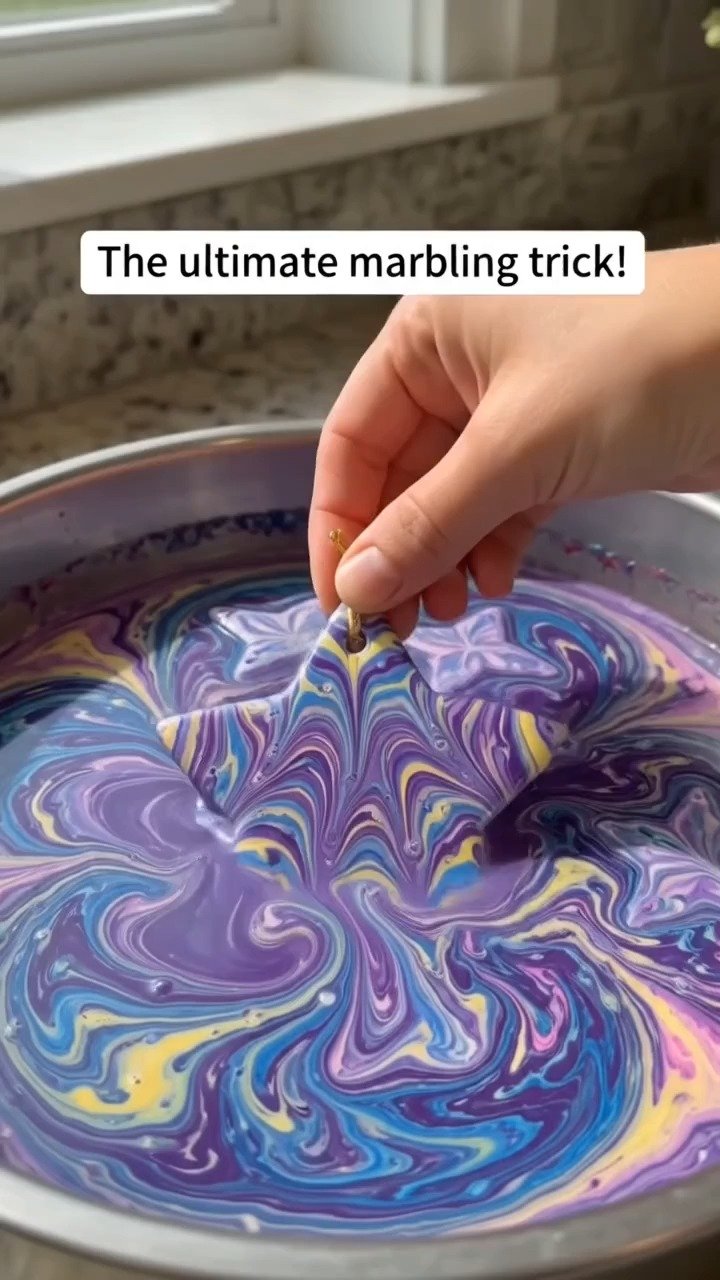
Keeping It for Later
Storing your marbled creations requires some thought to preserve their beauty. If you plan on keeping them for a while, choose a spot that avoids direct sunlight. Sunlight can fade colors over time, dulling the vibrancy you cherish.
For practical uses, consider laminating smaller pieces or framing them. This not only protects them but also elevates their status to cherished keepsakes. If you make multiple pieces, stack them with a layer of paper between each to prevent smudging.
Gentle Tips & Variations
- Explore color blending beyond the initial setup. Try layering colors by applying second and third coats once the first layer dries, creating depth and intrigue.
- Experiment with different tools for creating patterns. Combs, forks, or even the ends of pencils can produce unique textures to your marbling.
- Let your children or friends join in the fun. Gathering around a table filled with colors encourages laughter and teamwork, making memories as vibrant as your finishes.
FAQs About Marbling trick creates mesmerizing swirling patterns that turn ordinary crafts into colorful masterpieces
Q: What kind of paints work best for marbling?
A: Water-based paints work wonderfully. Acrylics can be used if thinned correctly. Just remember to keep the consistency fluid to encourage swirling.
Q: Can I reuse the water in my tray?
A: It’s best to use fresh water each time for the cleanest results. However, if you’re experimenting, you can retain the water for a bit. Just be cautious of the colors mixing too much.
Q: How do I clean my brushes and tools?
A: Clean your brushes with water immediately after use. If the paint dries on them, it may become difficult to remove. A gentle soap can help remove stubborn residue.
Q: What if I want to add more colors or layers later?
A: You can definitely revisit your projects. Just ensure they are completely dry before adding any new layers of paint.
Q: Can I marbled fabric too?
A: Yes! Fabric marbling is a fantastic way to add creativity to clothing or textiles. Just be mindful to use fabric paint and follow appropriate setting instructions.
A Gentle Note Before You Go
As you wrap up your creation, take a moment to breathe deeply and reflect on the experience. Marbling invites you into a world of colors and shapes, a gentle reminder of the beauty that resides in both the journey and the outcome. Slow down and enjoy this process; let it be a source of inspiration, reminding you that beauty emerges in unexpected ways. Each time you engage in such mindful making, you cultivate a calm corner of your life where creativity flourishes.
Print
Marbling Art Project
- Total Time: 40 minutes
- Yield: 2-4 pieces
- Diet: N/A
Description
Experience the mesmerizing art of marbling, where colors blend and swirl together, creating beautiful patterns on your chosen surface.
Ingredients
- White cardstock or canvas (smooth surface recommended)
- Marbling paints or acrylic paints (liquid consistency)
- Shallow dish or tray (for mixing paints)
- Small brushes or droppers (for applying paint)
- Water (to thin the paints if needed)
- Plastic gloves (optional)
- Paper towels (for drying or cleaning)
Instructions
- Begin by laying down your chosen surface.
- Prepare your dish by adding a layer of water.
- Squeeze small amounts of your first color onto the water’s surface.
- Choose another color and apply it next to the first.
- With a gentle hand, use a small brush to lightly drag through the pools of color.
- Carefully place your cardstock or canvas onto the water’s surface.
- Lift your piece out of the water and place it to dry.
- Once dry, admire your creation.
Notes
Consider laminating smaller pieces or framing them to preserve their beauty.
- Prep Time: 10 minutes
- Cook Time: 30 minutes
- Category: Craft
- Method: DIY
- Cuisine: Art