

Melted purple crayon pieces create a rich stained-glass effect in this simple suncatcher project filled with bold color and glowing texture. Imagine the warm sun filtering through each vibrant hue, casting playful shadows that dance across your space. As you lean in closer, the rich textures and colors invite you to feel a gentle calm, providing a cozy embrace that soothes the mind. This project encourages you to slow down, breathe deeply, and engage your creative spirit, all while celebrating the beauty of light filtering through spectacular colors.
The Heart Behind This DIY
Engaging in creative projects like making a suncatcher stirs something deep within us. It invites a sense of mindfulness, where each step becomes a meditative experience. The simple act of melting crayons taps into our senses, releasing alluring scents as they warm up, while the vibrant colors awaken our visual delight.
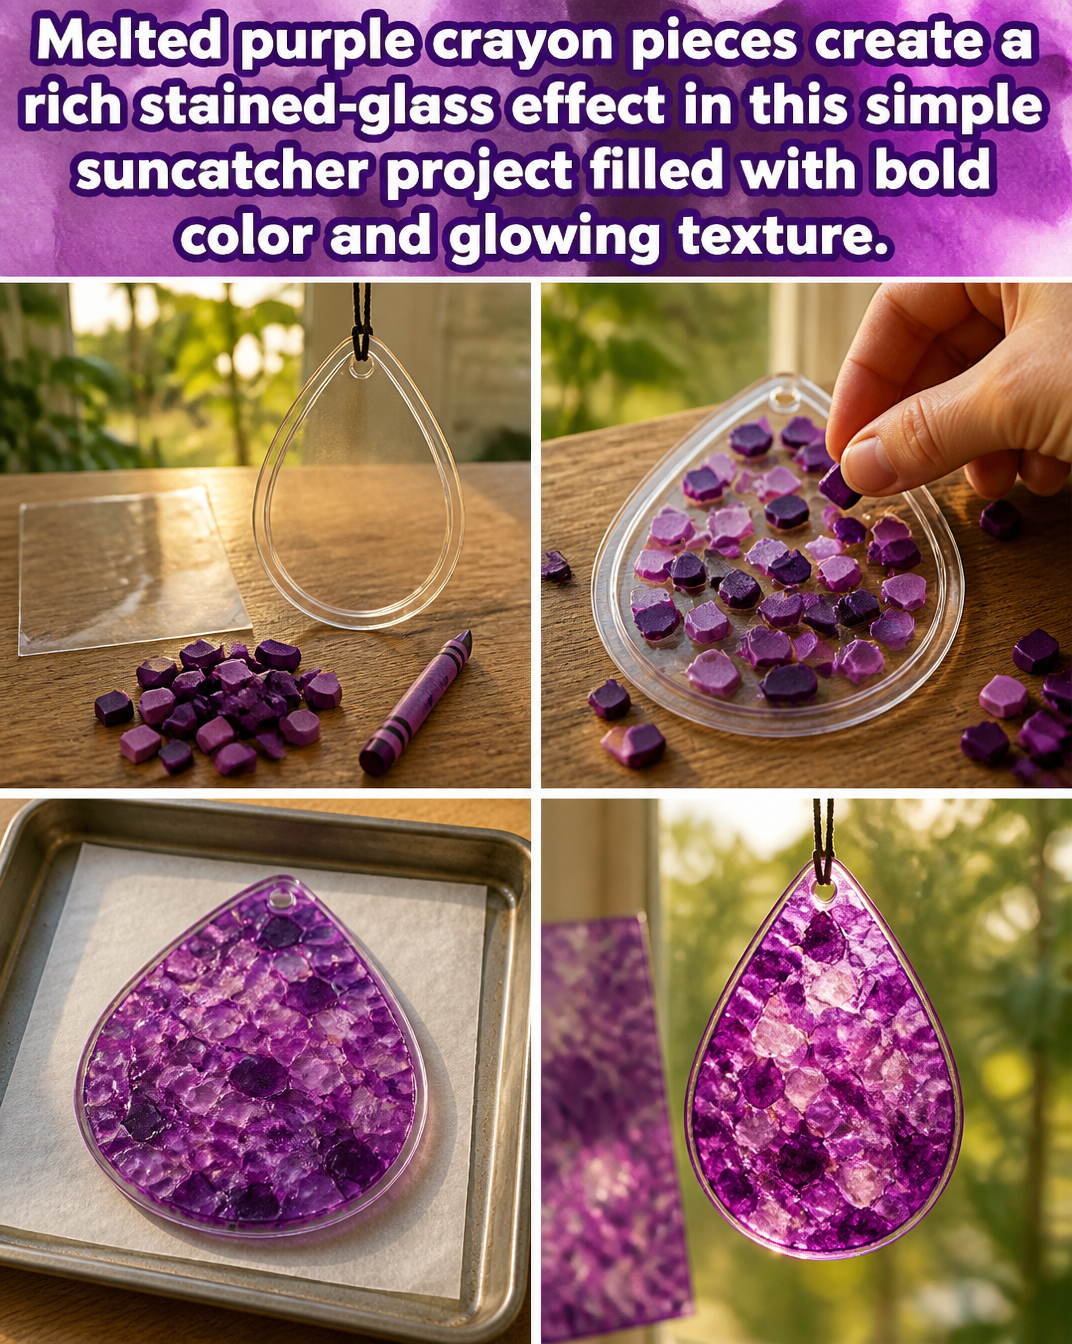
This suncatcher project encourages you to bring a piece of your spirit into your space. Each time light passes through it, you are reminded of the calmness found in creativity and the joy of living in color. Whether it brightens a window or hangs gently in the air, it serves as a daily reminder of peaceful moments spent crafting something uniquely yours.
A Gentle Look at the Process
Before diving into the materials, it’s nice to take a moment to understand how this creation will come together. Picture the gentle hum of your workspace as you prepare. Gather your crayons, allowing the smooth, cool surface of each piece to awaken your senses. As you begin, the rhythmic sound of the oven softens the edges of your thoughts.
The process unfolds simply; melting the crayons transforms their essence, making them moldable. Pouring the melted wax into shapes becomes a delightful interplay of colors, blending and swirling into something extraordinary. The experience of making this suncatcher is as satisfying as the vibrant piece you create.
Materials You’ll Need
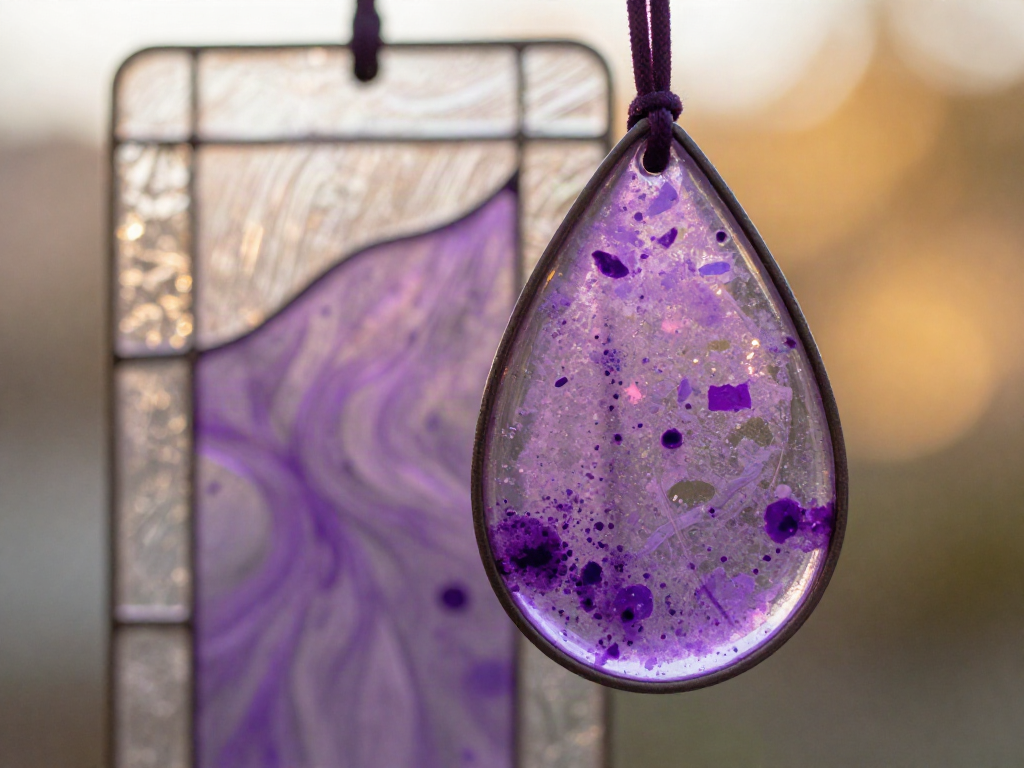
- Crayons (purple and other colors you love)
- Oven-safe baking dish or silicone mold
- Parchment paper
- Scissors (optional for creating small pieces)
- String or ribbon for hanging
- Oven (set to a low temperature)
Feel free to experiment with different colors and shapes. If you have a beloved mold already, let it work its magic in your suncatcher. The crayons are easy to find and come in an array of hues that can bring your vision to life.
Step-by-Step Directions
-
Preheat Your Oven: Set your oven to a gentle temperature, around 200 degrees Fahrenheit. This warmth prepares your space, inviting a calm atmosphere.
-
Prepare Your Crayons: Peel the wrappers off your crayons. As you do this, notice how the vibrant colors emerge, each shade a promise of beauty. Cut or break the crayons into small pieces if you’d like.

-
Arrange in the Dish: Place the crayon pieces in the baking dish or mold. Feel free to mix and match colors; let your creativity flow freely.
-
Melt the Crayons: Place the dish in the oven and let it melt, which usually takes about 10-15 minutes. Don’t rush this step; instead, take a moment to enjoy the warmth filling the space.
-
Cool and Set: Once melted, carefully remove the dish from the oven and let it cool completely. The colors will create a stunning stained-glass effect, inviting light with open arms.
-
Unmold: Once cooled, gently remove your sphere from the mold. Notice the smooth texture as you free it from the dish; it’s almost like releasing a treasure.
-
Add String or Ribbon: Finally, tie the string or ribbon to create a hanging loop. Now, you are ready to hang your beautiful suncatcher.
Enjoying the Finished Piece
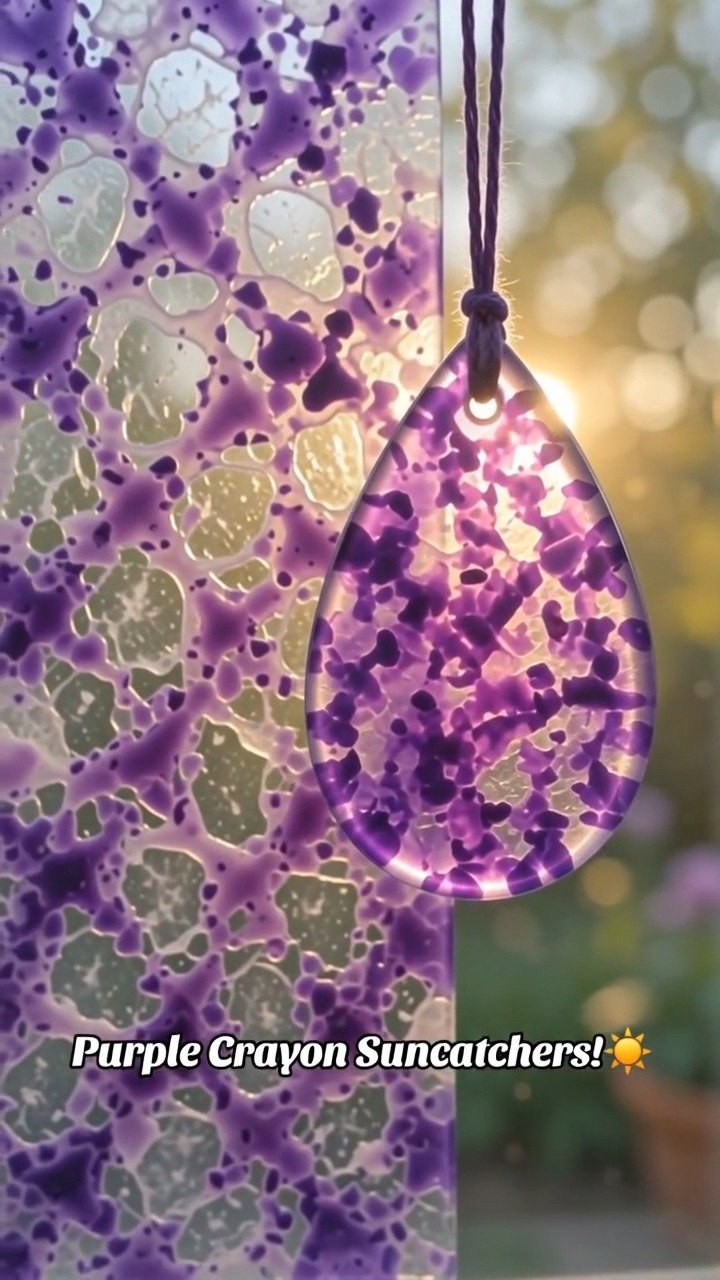
Once your suncatcher catches the sunlight, it combines all the hues you chose in one radiant display. Imagine hanging it in a window where the sun spills forth, filling your space with a warm glow and a dance of colors.
This piece invites you to pause. Take a moment to enjoy how the light filters through, transforming your surroundings into a tranquil haven. You may find it brings a smile every time you walk past, a gentle reminder of your creative spirit.
Caring for Your Finished DIY
Taking care of your suncatcher adds to its longevity and beauty. To clean the piece, gently dust it with a soft cloth. If you notice any dust settling, find comfort in giving it a quick refresh to keep those colors vibrant.
When the seasons change, consider storing it safely in a padded box or wrapping it in a soft cloth to keep it safe. This not only preserves its beauty but allows you to appreciate it year after year, adding layers of memories and stories with each new spring or winter.
Gentle Tips & Variations
-
Color Blending: Experiment by mixing in other colors to create new shades and hues. This can transform your suncatcher into a unique masterpiece.
-
Shape Variety: Try different molds, using various shapes like stars or hearts. This can add a playful twist to your windows.
-
Layering Techniques: Consider melting layers of colors, allowing one layer to set before adding another. This creates depth and complexity in your final piece.
-
Seasonal Adaptations: Create seasonal decorations by changing colors to reflect the time of year. Soft pastels for spring or deep earthy tones for autumn can evoke a shift in your space.
FAQs About Melted purple crayon pieces create a rich stained-glass effect in this simple suncatcher project filled with bold color and glowing texture.
Can I use non-purple crayons?
Absolutely! Any colors you love can work perfectly. Mixing different shades will only enhance your creation.
How long will my suncatcher last?
With proper care, your suncatcher can last for years, bringing warmth and beauty to your space.
What if my crayons don’t melt completely?
If that happens, you can put them back in the oven for a few more minutes. Just remember to monitor the process closely to avoid overheating.
Can I use other types of wax?
While crayons work wonderfully for this, you can experiment with other waxes as long as they melt well. Keep in mind the color and scent they may offer.
Is it safe for children to help?
Involving children can make this a delightful activity, although supervision is essential, especially near the oven. Their little hands gravitate towards color, making it a joy to create together.
A Gentle Note Before You Go
As you wrap up this cozy project, take a moment to reflect on the joy of creating. Making a suncatcher goes beyond the colors and shapes; it nurtures a peace within you that lingers long after you finish. Allow yourself to relish the process, savoring those quiet moments of bliss. Each piece you create becomes a celebration of light and color, illuminating not just your space but your heart as well.
Print
Melted Crayon Suncatcher
- Total Time: 30 minutes
- Yield: 1 suncatcher
- Diet: N/A
Description
Create a vibrant stained-glass effect suncatcher using melted crayons, adding a burst of color and creativity to your space.
Ingredients
- Crayons (purple and other colors)
- Oven-safe baking dish or silicone mold
- Parchment paper
- Scissors (optional)
- String or ribbon for hanging
- Oven (set to low temperature)
Instructions
- Preheat your oven to 200 degrees Fahrenheit.
- Prepare your crayons by peeling them and cutting them into small pieces.
- Arrange the crayon pieces in the baking dish or mold.
- Melt the crayons in the oven for about 10-15 minutes.
- Cool the melted crayons completely before removing from the mold.
- Unmold your creation and remove it gently.
- Add string or ribbon to create a loop for hanging.
Notes
Feel free to experiment with different colors and shapes for a personalized touch. Ensure supervision if children are involved in the process.
- Prep Time: 15 minutes
- Cook Time: 15 minutes
- Category: Craft
- Method: Melting
- Cuisine: N/A