This post contains Amazon affiliate links. As an Amazon Associate I earn from qualifying purchases.
As the light softly filters through the window, casting a gentle glow across the table, the tactile pleasure of cool eggs in your hands draws you into a calm moment. You can feel their delicate shells, smooth and inviting, just waiting for your touch. The rich colors of paint invite your creativity, and as you breathe in, the scent of paint mingles with a hint of baking soda, adding layers to a peaceful experience. Here, in this quiet space, you begin to embrace the simplicity and joy of making Baking Soda Painted Easter Eggs.
Why Make This Baking Soda Painted Easter Eggs
Creating these charming eggs feels like a warm hug for your spirit. Each step allows you to slow down and savor the moment, connecting with tangible materials that ground you. The rhythm of your hands gliding over the eggs provides a natural flow that quiets the mind. As you mix the soft baking soda paint, the gentle sounds of stirring fill the air, encouraging you to switch off from life’s busy pace. This project feels nurturing, offering space for mindfulness, creativity, and a comforting sense of accomplishment.
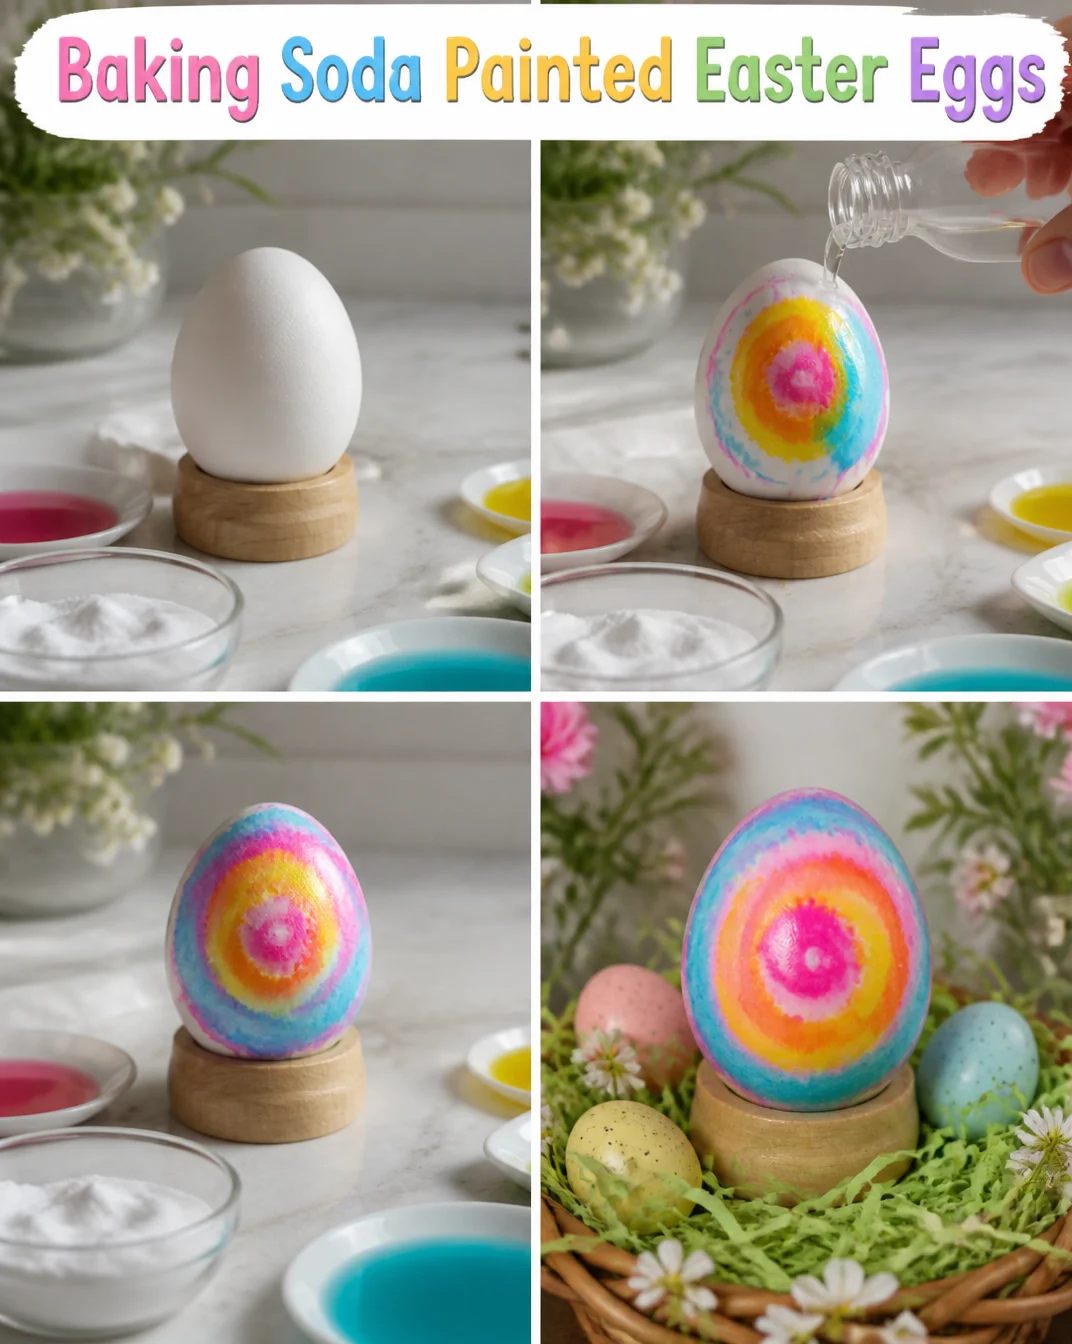
A Gentle Look at the Process
Imagine setting up a cozy corner, filling it with gentle colors and inviting textures. This project encourages simple movements, as you dip brushes into soft paint, your heart slowly released into a joyful rhythm of creation. The paint glides effortlessly against the smooth egg surfaces, forming colorful landscapes of your imagination. As colors blend and swirl, the visual experience becomes a dance of hues—a slow, deliberate motion to reflect upon. You breathe deeply, feeling the warmth around you and the calm seep into your hands.
Materials You’ll Need
- White eggs (real or wooden, whichever you prefer)
- Baking soda (easy to find at any grocery store)
- Food coloring (your choice of vibrant or soft shades)
- Small bowls for mixing the paint
- A whisk or spoon for stirring
- Paintbrushes of various sizes (feel free to use what you have)
- Paper towels or a soft cloth for cleaning up
These materials are accessible, inviting you to gather them in a way that feels comforting rather than overwhelming. The experience of choosing and arranging your supplies can also be part of your creative journey.
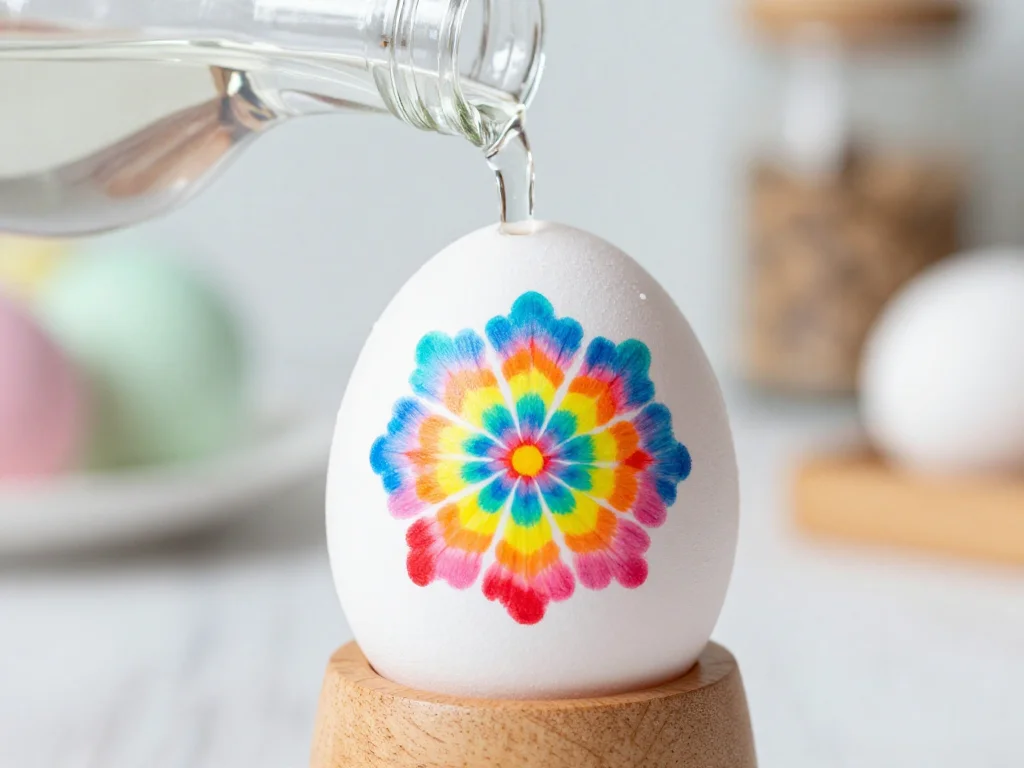
Step-by-Step Directions
- Start by hard-boiling the white eggs if you prefer to use real ones, then let them cool completely.
- In small bowls, combine about 2 tablespoons of baking soda with a few drops of food coloring. Mix gently; you will create a soft, paste-like paint.
- Adjust the paint’s thickness by adding more baking soda or a drop of water if needed. Aim for a consistency that allows for smooth application.
- Select a paintbrush and dip it into the colored paint. Feel how the brush glides, picking up the vibrant mixture.
- Start painting your eggs, allowing your creativity to flow. Use wide strokes for coverage, or fine tips for detailed designs. Enjoy watching the colors interact.
- Set the painted eggs aside to dry on paper towels. Take your time; observe the colors as they change with drying.
- Once dry, you may want to add second layers or different colors for depth, exploring new textures and tones.
Allow yourself to get lost in the process, moving at a pace that feels right for you. Each stroke is an invitation to a moment of calm, encouraging you to be present.
Enjoying the Finished Piece
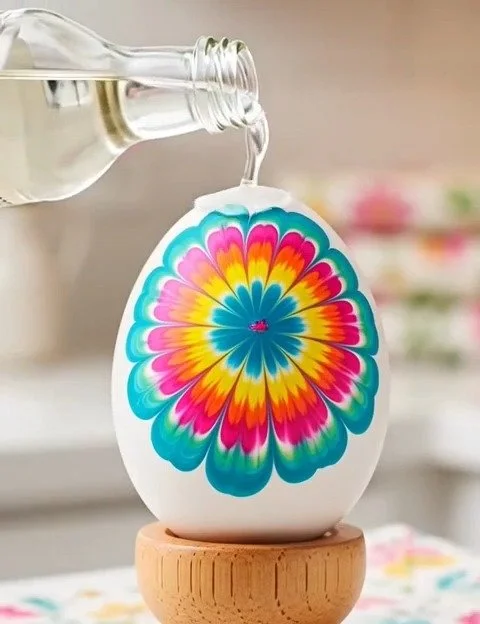
Once your beautiful Baking Soda Painted Easter Eggs are complete, you may find joy in displaying them. They can brighten up a shelf, bringing warmth and creativity into your surroundings. Place them in a decorative bowl as a centerpiece or arrange them softly on a windowsill where sunlight dances upon their colors. Imagine sharing them with loved ones during the spring season, celebrating not just the joy of the eggs but also the memories wrapped in their making.
You might even choose to gift them to someone special, wrapping each egg gently in tissue paper, inviting them to experience the serenity and beauty you found as you created.
Keeping It for Later
To ensure the longevity of your Baking Soda Painted Easter Eggs, store them in a cool, dry place. If you used real eggs, remember to handle them gently, as they are still fragile. A carton or a soft cloth pouch can cradle these treasures safely when not on display. If you used wooden eggs, you may cover them with a light layer of varnish to preserve their vibrancy.
This makes it easy to bring them out year after year, creating a gentle tradition of creating and cherishing. The memories from your crafting sessions will intertwine with new moments spent enjoying them.
Gentle Tips & Variations
- Experiment with natural dyes by using ingredients like beet juice or turmeric, inviting new colors while deepening your connection to nature.
- Try adding textures by using sponges or your fingers in place of a brush, offering a sensory experience that changes how you interact with the paint.
- Incorporate themes by painting different symbols or designs that hold meaning for you or your family, turning each egg into a story.
Feel free to allow your creativity to evolve; these tips remain open invitations, welcoming you to explore what feels right for your journey.
FAQs About Baking Soda Painted Easter Eggs
Can I use other types of eggs?
Yes, wooden eggs work wonderfully for this project. They don’t need special handling and can be reused for years.
Do I need to use food coloring?
Food coloring gives vibrant results, but if you prefer, natural alternatives or even watercolor paints can create beautiful effects.
How long does it take for the eggs to dry?
Typically, allow them to dry for about 2-4 hours, depending on the thickness of the paint. Enjoy the process while waiting.
Can I eat the boiled eggs afterward?
If you’ve used food-safe colors, feel free to enjoy them once the decorating is complete. Just ensure they are stored properly.
What if I don’t have baking soda?
You can use cornstarch in a similar way. The texture may differ slightly, but it offers another pathway to creativity.
A Gentle Note Before You Go
As you step back from your creative time making Baking Soda Painted Easter Eggs, allow yourself a moment to reflect. Each stroke of color and each choice made adds layers to your personal story. The process of creating becomes as important as the final result. Embrace the feelings of calm and joy that flow through you, taking these moments of creativity into other areas of your life. You have not only created something beautiful but have also fostered a gentle practice of being present and connected. Enjoy the peace that comes from mindful making, and let your creativity continue to unfold in rich, new ways.
Print
Baking Soda Painted Easter Eggs
- Total Time: 30 minutes
- Yield: 6 eggs
- Diet: N/A
Description
A creative and calming project that transforms plain eggs into beautiful works of art using natural baking soda paint.
Ingredients
- White eggs (real or wooden)
- Baking soda
- Food coloring
- Small bowls for mixing
- A whisk or spoon for stirring
- Paintbrushes of various sizes
- Paper towels or a soft cloth for cleanup
Instructions
- Start by hard-boiling the white eggs if using real ones; let them cool completely.
- In small bowls, combine about 2 tablespoons of baking soda with a few drops of food coloring. Mix gently to create a soft, paste-like paint.
- Adjust the paint’s thickness by adding more baking soda or a drop of water if needed.
- Select a paintbrush and dip it into the colored paint, enjoying how it glides.
- Start painting your eggs with wide strokes or fine tips for detail.
- Set the painted eggs aside to dry on paper towels.
- Once dry, consider adding second layers or different colors for depth.
Notes
You can experiment with natural dyes and textures to create unique effects. Ensure real eggs are stored gently if kept after decorating.
- Prep Time: 10 minutes
- Cook Time: 20 minutes
- Category: Arts and Crafts
- Method: Painting
- Cuisine: N/A