

The soft sunlight filters through the leaves, casting gentle patterns on the ground. It dances with the movement of the breeze, embodying a simplicity that speaks to the heart. In moments like this, creating something with your hands feels profoundly soothing. The act of gathering materials, connecting beads with wire, and watching a suncatcher come to life provides a serene retreat. Here, I invite you to explore ten DIY beads and wire suncatcher ideas that effortlessly blend creativity with mindfulness, encouraging you to slow down and immerse yourself in the process of making.
The Heart Behind This DIY
Creating with intention offers a gentle escape from the daily rush. As we engage our hands in crafting, there is a beautiful rhythm to the work. Each bead carries a story and a vibrant hue, grounding us in the present moment. The simple act of stringing these beads together allows our minds to quiet and our worries to drift away.
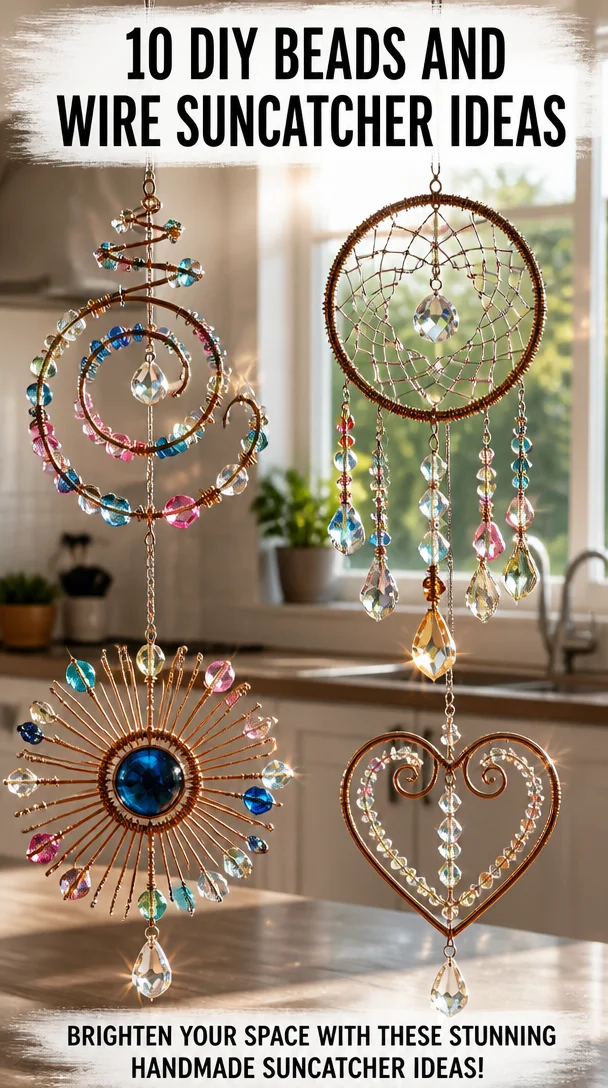
When we focus on something tactile, we become aware of the world around us. The coolness of the beads, the flexibility of the wire, and the sound of them gently clinking together provide sensory feedback that enhances the experience. As your hands work, you’ll begin to notice the colors capturing the light, creating whimsical patterns that sparkle as they move. This process fosters a mindful meditation, encouraging both relaxation and playful creativity as we experiment with different designs.
A Gentle Look at the Process
Each step of making a suncatcher unfolds naturally. You can find a quiet space where you feel comfortable, allowing your thoughts to settle. Gather your materials, and let the textures and colors speak to you. The soft sound of wire being bent and the soothing click of beads sliding into place set the scene.
You may find your mind wandering as you work. Embrace those moments, allowing ideas to surface and take shape. You can pause and take a breath, appreciating the glow of your creation as you move forward together, step by step.
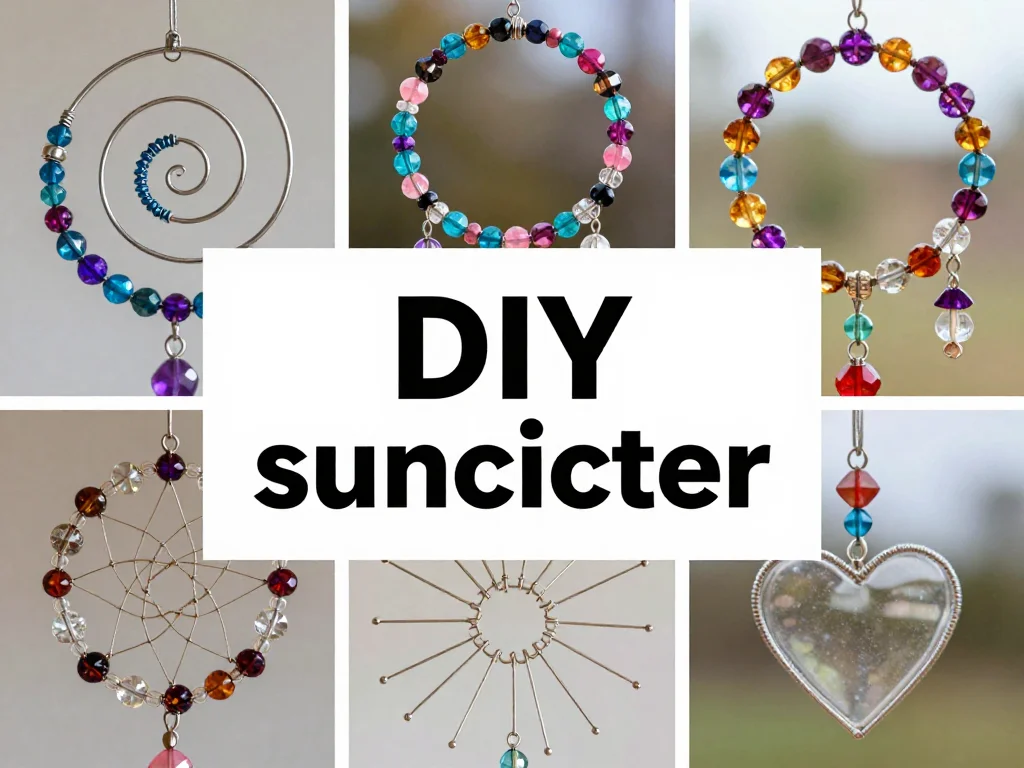

Materials You’ll Need
- Nature-themed beads (like wooden or glass)
- Colorful seed beads
- Thin, flexible wire (such as floral wire)
- Wire cutters (to achieve precise lengths)
- Pliers (for bending and twisting the wire)
- A sturdy base (like a willow branch or metal hoop to attach beads)
- Optional: ribbons or string for hanging
- Optional: small charms or crystals to add unique details
As you gather your materials, remember that the beauty is in the imperfections. Each bead holds a story, and every twist of wire adds to its character. Choose what resonates with you, and allow your creativity to flow.
Step-by-Step Directions
-
Start by cutting a length of wire to your desired size, about 18 to 24 inches is often a good starting point. The warmth of your hands will guide the wire as it bends.
-
Choose a few larger beads to begin. Thread them onto the wire, leaving a few inches free at each end. As you work, feel the beads roll and glide through your fingers.

-
Secure the first bead in place by twisting the wire tightly below it. Take your time with this step, enjoying the satisfying tightening of the wire.
-
Add smaller beads or seed beads between the larger ones. Experiment with different color combinations. Notice how the colors play off each other, creating a visual symphony.
-
Continue adding beads until your design reaches the desired length. Allow your imagination to guide you through this process, with no rush.
-
Once your design is complete, use your pliers to make a small loop at each end of the wire. This will allow you to secure the piece to your hanging mechanism.
-
If using a branch or hoop, attach your bead design carefully. Feel the connection as you twist the wire securely around. This moment feels like sealing an intention.
-
If you like, add ribbons or strings for additional texture and hang them from a window or a trellis. The movement of the suncatcher will encourage you to pause and observe the shifting light.
-
Stand back and take a moment to admire your creation. Celebrate its uniqueness, nurturing a sense of accomplishment within you.
-
Find a special place to display your suncatcher. Allow it to catch the light and illuminate your space with warmth and color.
Enjoying the Finished Piece
Once complete, your suncatcher becomes more than just a decorative piece; it transforms into a vibrant part of your daily routine. Hang your creation in a space where it can receive the light. Each sunbeam passing through will break into colors, filling your room with moments of dazzling wonder.
As light catches the beads, allow yourself to be present. Observe how each hue dances and plays across the walls. This suncatcher becomes a beautiful reminder of your time spent creating, gently grounding you as you move through your day. You may find it draws family and friends to pause for a moment, together observing the beauty born from your hands.
Making This DIY Last
Caring for your suncatcher involves simple, mindful attention. To keep it shining bright, occasionally give it a dusting with a soft cloth. This helps maintain its vibrancy and keeps the beads sparkling.
If your suncatcher hangs in a window, observe how it changes with the seasons. You might feel inspired to create more suncatchers with seasonal themes, welcoming new colors that resonate with the time of year.
Additionally, if you find any beads break or come loose, the process of making is always welcoming of repair. Spend a quiet moment replacing them, infusing your creation with even more love and care.
Gentle Tips & Variations
- Let nature inspire you. Consider using natural elements like dried flowers, feathers, or small twigs alongside your beads for a rustic feel.
- Loving imperfections can add to charm. If a bead doesn’t fit your original plan, try placing it unexpectedly; it might lead to a delightful surprise.
- Experiment with the size of your beads. A mix of large and small makes for visual interest, creating a layered effect in your suncatcher.
- If you have children, invite them to create their own designs. This project can build connections across ages, sharing stories and laughter while crafting together.
FAQs About 10 DIY Beads and Wire Suncatcher Ideas
Q: Can I use any beads?
A: Yes! Feel free to explore different kinds of beads. Glass, wood, or even those from broken jewelry can add a personal touch.
Q: How long will my suncatcher last?
A: With gentle care, your suncatcher can last for many seasons. Indoor pieces tend to withstand moisture better than outdoor ones.
Q: Can I hang it outside?
A: Yes, but keep in mind that exposure to rain and sun can wear down materials over time. Using waterproof materials could help prolong its life.
Q: What if I don’t have wire?
A: You can use strong thread or string as an alternative. It might yield a different but equally charming effect.
Q: How do I hang it?
A: Ribbons or strong string are lovely options for hanging. Ensure it is secured so that it can move freely in the breeze.
A Gentle Note Before You Go
As you conclude your journey of making, take a moment to reflect on the peace that comes from creation. Each bead, each twist of wire carries a memory of time spent in quiet focus, an invitation to embrace the joy of simplicity. The finished suncatcher is not merely an object; it embodies the essence of your experience, an art piece that deserves to be admired. Cherish the calm and creativity that live in the act of making, allowing it to inspire future projects, as your hands continue to weave beauty into the world around you.
Print
DIY Beads and Wire Suncatcher
- Total Time: 15 minutes
- Yield: 1 suncatcher
- Diet: N/A
Description
Create beautiful and unique sun catchers using beads and wire, allowing light to dance through your home while reflecting your creativity.
Ingredients
- Nature-themed beads (like wooden or glass)
- Colorful seed beads
- Thin, flexible wire (such as floral wire)
- Wire cutters
- Pliers
- A sturdy base (like a willow branch or metal hoop)
- Optional: ribbons or string for hanging
- Optional: small charms or crystals
Instructions
- Start by cutting a length of wire to your desired size, about 18 to 24 inches.
- Choose a few larger beads to begin and thread them onto the wire.
- Secure the first bead in place by twisting the wire tightly below it.
- Add smaller beads between the larger ones, experimenting with color combinations.
- Continue adding beads until your design reaches the desired length.
- Once complete, use your pliers to make a small loop at each end of the wire.
- Attach your bead design carefully to the base.
- Add optional ribbons or strings for additional texture and hang the suncatcher.
- Stand back to admire your creation and find a special place to display it.
Notes
Embrace imperfections and allow your creativity to flow. This DIY project can build connections across ages.
- Prep Time: 15 minutes
- Cook Time: 0 minutes
- Category: Craft
- Method: DIY Crafting
- Cuisine: N/A