

A soft glow flickers from the corner of your room, gently illuminating the shadows as daylight fades away. The air carries a faint scent of warm vanilla and fresh-cut flowers, wrapping you in a cocoon of comfort. Creating Glow Jar Night Lights brings a sense of peacefulness, inviting you to slow down and appreciate the cozy moments in life. As you engage with the materials and the playful, calming process, you find yourself lost in the rhythm of mindful making. Each step becomes a meditation, a chance to savor the tactile experience of crafting something beautiful and functional for your space.
The Quiet Joy of Making Glow Jar Night Lights
Creating your own Glow Jar Night Lights offers more than just the end result of a soft, glowing light. This DIY project serves as a gentle reminder to embrace the present moment. The act of crafting allows your mind to unwind and focus on the simplicity of the materials and the movement of your hands. When you sit down to make, you may notice the play of light and shadow in your workspace, the crinkling sound of tissue paper, or the coolness of glass in your fingers.
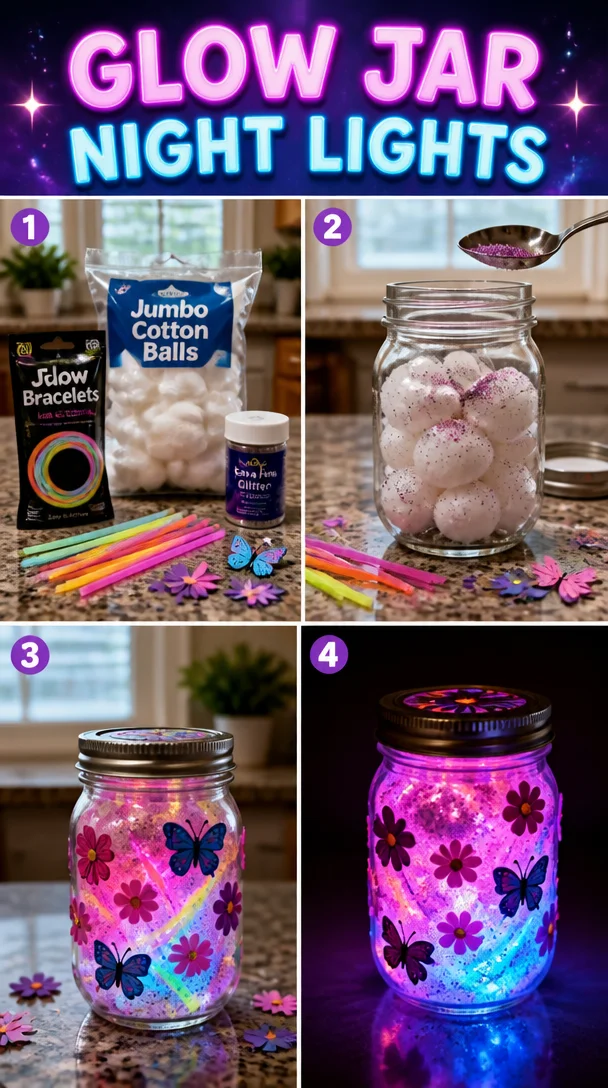
There’s something inherently comforting about the transformation that unfolds. By layering colors and textures, you infuse your own personality into each jar. Creating such personalized pieces brings warmth and a unique touch to your home. This project encourages you to take a break from the faster pace of life, to breathe, and to appreciate the beauty in the small details.
A Gentle Look at the Process
As you prepare to create your Glow Jar Night Lights, let the process flow naturally. Feel the excitement of selecting materials, arranging them in a way that feels right to you. Picture the soft movements of your hands as you work with each layer. Imagine the gentle sound of scissors cutting through paper or the subtle swishing of a paintbrush dipping into glue. Each step moves you closer to that warm, peaceful glow.
You might start with a blank jar and envision the layers of color, light, and texture that will soon fill it. The following sections will introduce you to the materials needed, paving the way for a serene and satisfying creative session.
Simple Supplies for This DIY
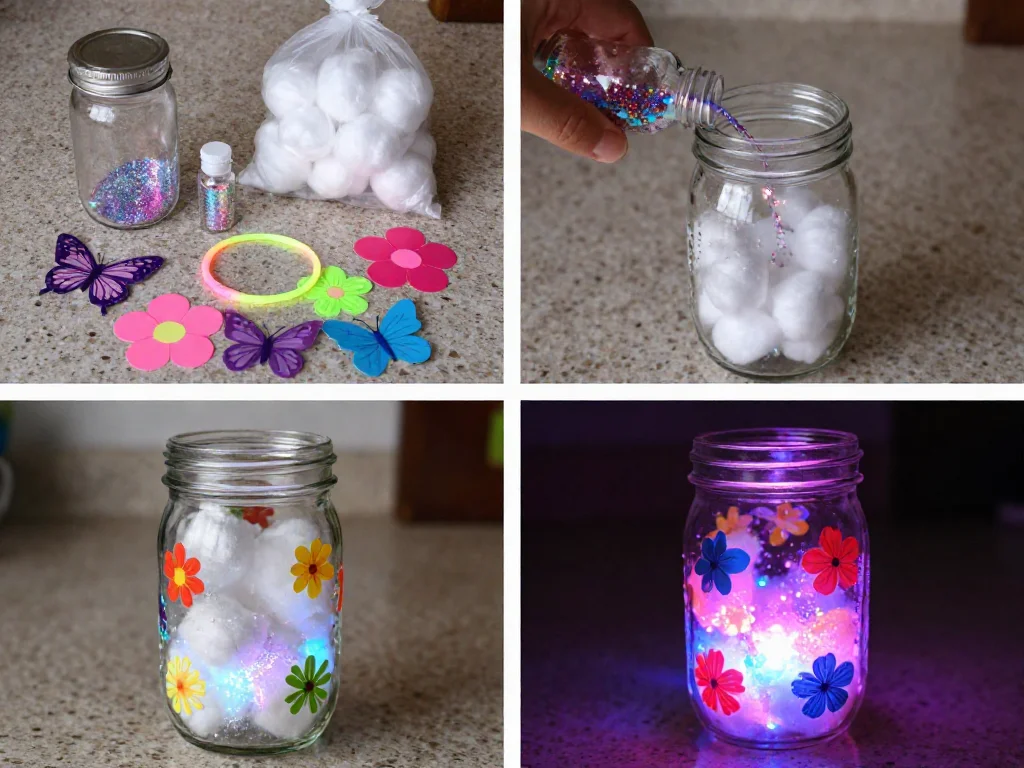
Before gathering your materials, take a moment to connect with the textures and colors that resonate with you. Here’s a list of what you will need for creating Glow Jar Night Lights:
- A glass jar (mason jars or pickle jars work well)
- Tissue paper or thin decorative paper (options like parchment or scrapbooking paper are nice choices)
- Mod Podge or white glue (diluted with a bit of water for easier application)
- Paintbrush (a soft one for smooth application)
- Battery-operated tea light candles (these create a safe glow without flame)
- Scissors
- Optional: twine or ribbon for embellishment
These supplies are easy to find at local craft stores or you might already have them tucked away in your home. Feel free to experiment with different materials to discover what inspires you.
Making Your Glow Jar Night Lights
-
Start by selecting your glass jar. Clean it thoroughly to see your beautiful design clearly later. Feel its weight in your hands as you consider how you want to decorate it.

-
Tear tissue paper into small pieces. Let the soft edges and vibrant colors spark your creativity. You might enjoy the movement as you tear, allowing yourself to engage with the process.
-
Dilute your glue or Mod Podge with a little water for easier spreading. Use your paintbrush to coat the jar lightly. Feel the smoothness of the brush against the glass as you savor the rhythm of applying the glue.
-
Start placing your torn pieces of tissue paper on the jar. The colors will start to overlap and create beautiful layers. Press gently as you add each piece, ensuring it sticks to the glue surface.
-
Continue adding and layering the paper until the entire jar is covered. Let yourself be loose in this step; embrace imperfections. The more organic the design, the cozier the outcome.
-
Once you finish layering, apply an additional coat of glue over the top. This seals everything in place and gives a glossy finish. Take a moment to appreciate your handiwork.
-
Allow your jar to dry completely. While waiting, enjoy the scents of your crafting space. You might notice various aromas that add to the calming atmosphere.
-
Once dry, place a battery-operated tea light inside the jar. Watch how the glow filters through the colors, filling the space with a warm, inviting light.
Using Glow Jar Night Lights in Everyday Life
Now that you’ve crafted your Glow Jar Night Lights, consider how to incorporate them into your living space. These little lights can bring a sense of tranquility wherever you choose to place them. Picture one glowing softly on a bedside table, creating a gentle ambiance as you wind down for sleep. You might also enjoy using them in a cozy reading nook, where they can cast a warm light during your quiet moments with a book.
Consider arranging several jars together on a shelf, each with its own unique design, creating a beautiful display. As the light shines through, each jar tells a story, inviting those nearby to pause and appreciate the warmth.
You could also share this project with family and friends. Making Glow Jar Night Lights together fosters a sense of connection and creativity, turning an ordinary gathering into a meaningful experience.
How to Store or Reuse Glow Jar Night Lights
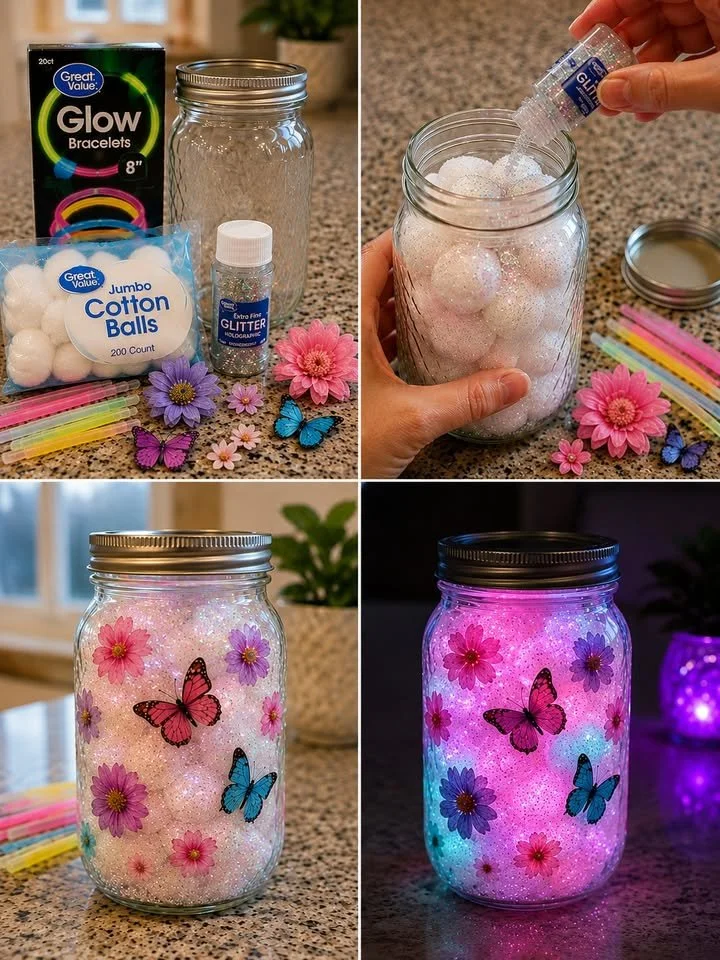
When you’re not using your Glow Jar Night Lights, store them safely to protect your creations. A soft cloth or tissue paper lining a box can act as a cozy bed for these fragile pieces. If you find you want to change the colors in your space, feel free to repurpose the jars. Simply soak them in warm soapy water to remove any decorations, and start again.
You may also consider adjusting the tea lights seasonally, adding some twinkling lights for the holidays or opting for softer colors during the wintertime. The jars are versatile, allowing them to remain a cherished part of your decor throughout the year.
Calm Customization Ideas
As you grow comfortable with this DIY, consider these invitations to make your Glow Jar Night Lights your own:
-
Experiment with different colors. Try calming blues and greens for a serene vibe, or brighter hues for an energizing effect.
-
Add nature elements by incorporating dried flowers or leaves beneath the layers of tissue paper. The organic textures will bring a unique charm to your jars.
-
Personalize the surfaces with a bit of calligraphy. Use permanent markers or paint pens to write calming words or phrases on the jars, adding an element of intention.
-
Craft jars inspired by seasons. Create fall-themed jars with warm oranges and browns, or winter wonderlands with icy blues and whites.
Each of these options allows you to express your creativity and enhance your cozy atmosphere even further.
FAQs About Glow Jar Night Lights
What kind of glue works best for this project?
Using Mod Podge works beautifully. It’s easy to apply and dries clear, giving your jar a lovely finish. If you want a simple option, white glue diluted with water is also effective.
Can I use real candles instead of tea lights?
It’s best to stick with battery-operated tea lights for safety reasons. Real candles pose a fire hazard, especially in jars made with paper.
How long will my Glow Jar Night Lights last?
With proper care and gentle handling, your jars can last a long time. If they start to show wear, you can always freshen them up or redo the design.
Can I wash my glow jars?
To maintain the integrity of the designs, avoid washing too frequently. If you need to clean them, use a damp cloth and be gentle.
Can children participate in this project?
Absolutely! This project can be a delightful family activity. Just keep in mind to offer assistance with scissors and applying the glue.
A Gentle Note Before You Go
As you step away from your Glow Jar Night Light making experience, take a moment to pause and breathe. Allow yourself to relish the joy that comes from creating something uniquely yours. Each jar is not merely a vessel; it embodies your thoughts, emotions, and a little corner of your imagination.
Whether you keep them for yourself or share them with others, these cozy creations will continue to glow, filling your space with warmth and comfort. Remember that the process of making is as meaningful as the finished glow, inviting you to engage with every moment. Embrace the slow, gentle joy of crafting as you continue on your creative journey.