

Bright colors dance in the gentle morning light, casting playful shadows across the room. You reach out, fingertips grazing the soft surface of fabric, feeling the slight texture beneath your touch. Each piece you hold seems alive with potential, ready to transform into a vibrant sea creature, radiating warmth and joy. This moment, filled with the promise of creativity and calm, is where the journey of making Bright Hanging Sea Creatures begins.
The Heart Behind This DIY
Creating Bright Hanging Sea Creatures allows you to drift into a soothing rhythm, offering a gentle escape from the demands of daily life. The act of crafting something beautiful encourages mindfulness, drawing you deeper into the moment. As you choose colors and shapes, you immerse yourself in your senses, letting the vibrant hues and textures inspire you.
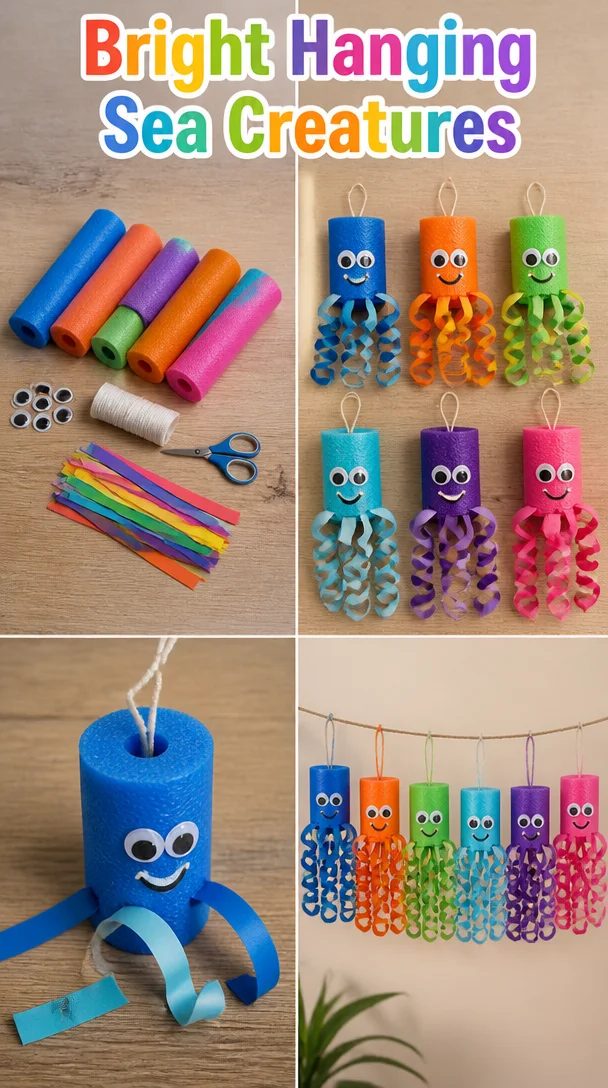
There’s a comforting simplicity in making these creations. You engage with materials, feeling the smoothness of fabric and the weight of thread. Each stitch brings you closer to a finished piece, while the act itself becomes a mindful meditation. With every gentle motion of your hands, stress melts away, leaving room for calm and creativity to flourish.
A Gentle Look at the Process
When you sit down to create your Bright Hanging Sea Creatures, you embark on a soft yet engaging journey. The supplies lay before you, inviting touch as you sort through shapes and colors. The sound of scissors snipping through fabric or the steady rhythm of a needle pulling thread fills the space around you. It gently guides your focus, allowing your mind to settle.
The process unfolds like a little dance, where you move from one task to the next, forgoing haste. You build upon your creations layer by layer, each part contributing to the whole. This gradual and intentional approach fosters a sense of peace, allowing your creativity to bloom at a comfortable pace.
Materials You’ll Need
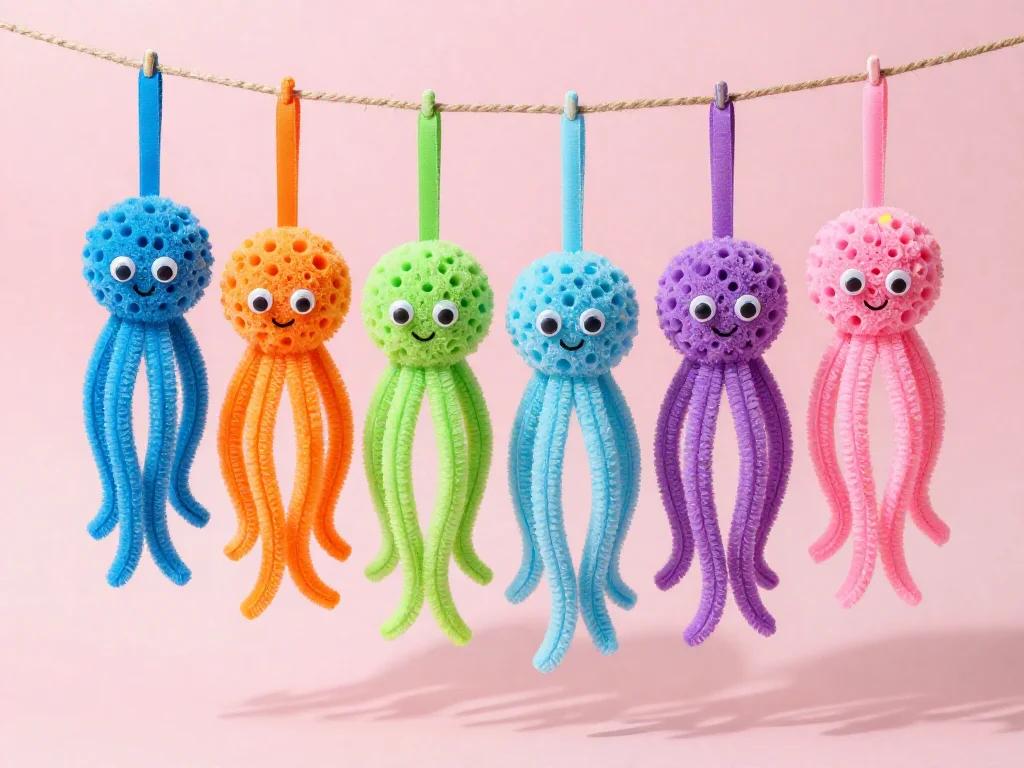
- Colorful felt or fabric (choose bright shades that make you smile)
- Scissors (comfortable and well-functioning)
- Needle and thread (or a sewing machine if you prefer)
- Stuffing (polyester or cotton works well)
- Strings or ribbons (for hanging)
- Optional: Fabric glue (for embellishments)
- Optional: Beads or buttons (for added decoration)
Gathering these materials can be as enjoyable as the crafting itself. Most items are easy to find and may already reside in your home. Enjoy the quiet exploration of texture and color as you choose each piece.
Step-by-Step Directions
-
Choose Your Sea Creatures: Think about what shapes inspire you. A starfish, an octopus, or a playful fish can come to life through your hands.
-
Cut the Pieces: Use your scissors to carefully cut your chosen shapes from the fabric. Focus on the smooth glide of the scissors through the material.

-
Sew the Base: If you’re making a two-sided creature, place two fabric pieces together. Sew along the edges, surrounding the shape, leaving a small gap for stuffing.
-
Add Stuffing: Gently fill your creature with stuffing, using your fingers to ensure it’s evenly distributed. This adds softness and dimension.
-
Close the Gap: Hand sew or use the sewing machine to close the opening you left for stuffing. Enjoy the process of sealing your creation.
-
Attach the String: Cut a piece of ribbon or string. Securely sew it to the top of your creature, making sure it’s well attached for hanging.
-
Decorate: Use beads, buttons, or additional fabric pieces to embellish your sea creature. Let your creativity explore new ideas as you add personal touches.
-
Hang and Enjoy: Find a cozy spot to display your Bright Hanging Sea Creatures. They will bring a splash of color and warmth to your space.
Where This DIY Fits Into a Calm Routine
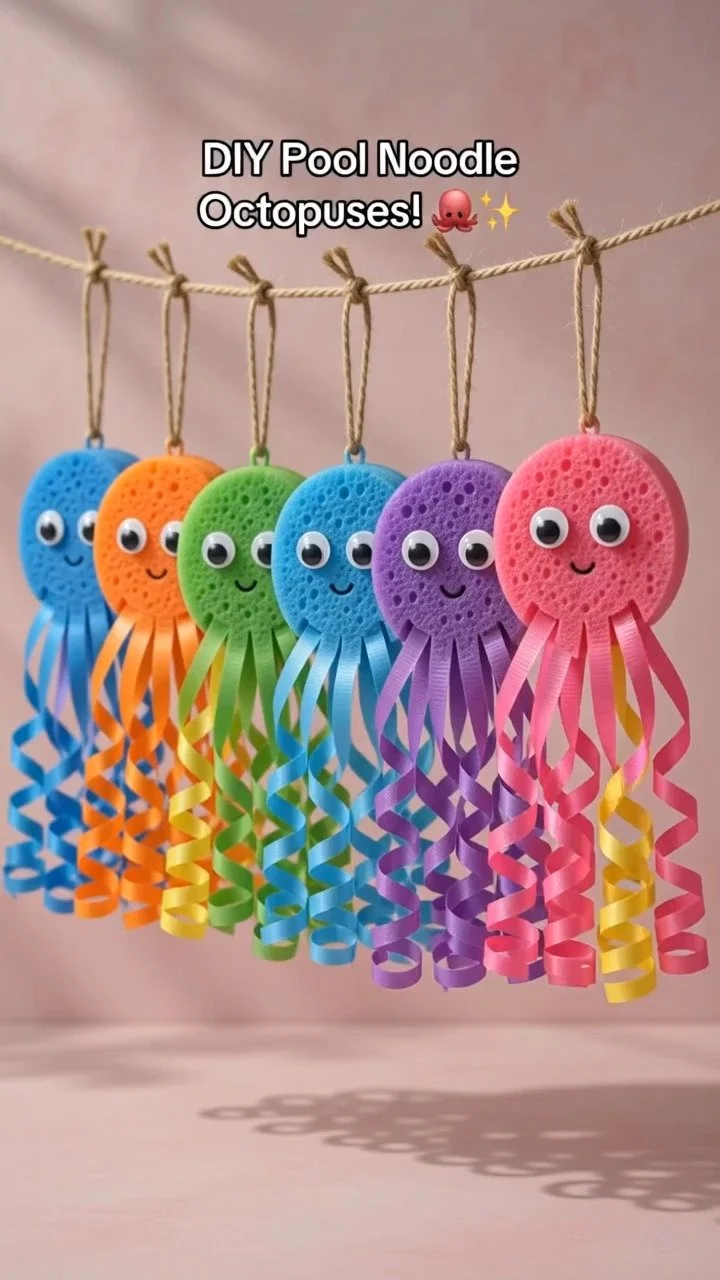
Once made, your Bright Hanging Sea Creatures can become charming additions to your space. Hang them in a child’s room, a cozy corner, or near a window where they catch the light. As they sway gently, they invite a smile, helping to create an atmosphere of joy and creativity.
These creations also serve as anchors in your daily routine, reminding you to pause and appreciate simple, beautiful moments. Trust in the process of creation can enhance your environment, inviting a sense of calm and playfulness.
Making This DIY Last
Storing your Bright Hanging Sea Creatures requires thoughtfulness to ensure their longevity. If you decide to keep them for future seasons, find a safe, dry place where they won’t be crushed or damaged. Use a protective box or a soft pouch that preserves their shape and vibrancy.
Should you wish to reuse or refresh them, they lend themselves beautifully to seasonal décor. You can change how they are displayed, giving them new life every time you bring them out.
Small Ways to Make It Your Own
Crafting is personal, and small variations can enhance your Bright Hanging Sea Creatures. Consider these gentle invitations:
- Experiment with Textures: Try mixing felt with other fabrics like burlap or cotton for unique looks. Each fabric brings a different feel and visual interest.
- Incorporate Nature: Add shells or small stones to your sea creatures. This can create a deeper connection to the ocean and nature.
- Try Different Sizes: Likewise, experiment with scale. Create a small collection of varying sizes to add dimension to your display.
- Use Natural Dyes: If you feel adventurous, consider natural dyes from fruits, vegetables, or plants to color your fabric. This can bring an added depth of connection to the materials.
FAQs About Bright Hanging Sea Creatures
Can I use other materials?
Absolutely! While felt is soft and easy to sew, you can use any fabric you have on hand. Each will create a different look and feel.
How can I make them safe for children?
Ensure any embellishments are securely attached. Avoid small parts if making these for young children. Consider using non-toxic materials for peace of mind.
Can I wash them?
For light cleaning, you can spot clean your sea creatures with a damp cloth. If they need thorough washing, consider hand washing with mild soap, ensuring to dry them carefully to keep their shape.
How long does this project take?
The making time can vary from person to person. You may find that you enjoy it so much that you take your time, allowing a few hours for crafting and relaxing.
What if I am not very crafty?
Don’t worry! This project is meant to be calming above all. Focus on the enjoyment of creating rather than worrying about perfection. Each piece you make will be unique.
A Gentle Note Before You Go
As you finish your Bright Hanging Sea Creatures, take a moment to breathe and reflect. Each stitch carries a bit of your spirit, your creativity woven into the fabric. Allow yourself to slow down, savoring both the process and the final result.
This project is not just about creating decorations; it’s about caring for yourself in a world that often rushes by. May your creations bring you warmth and joy. Each piece serves not only as a visual reminder of your crafting journey but also as an invitation to continue exploring your creativity. You have made something special; hold onto that feeling as you move forward in your cozy endeavors.
Print
Bright Hanging Sea Creatures
- Total Time: 135 minutes
- Yield: 3-5 sea creatures
- Diet: N/A
Description
Craft vibrant sea creatures that add color and warmth to your space while promoting mindfulness and creativity.
Ingredients
- Colorful felt or fabric
- Scissors
- Needle and thread (or sewing machine)
- Stuffing (polyester or cotton)
- Strings or ribbons (for hanging)
- Optional: Fabric glue
- Optional: Beads or buttons
Instructions
- Choose Your Sea Creatures: Think about what shapes inspire you.
- Cut the Pieces: Use your scissors to carefully cut your chosen shapes from the fabric.
- Sew the Base: If you’re making a two-sided creature, place two fabric pieces together and sew along the edges, leaving a small gap for stuffing.
- Add Stuffing: Gently fill your creature with stuffing, ensuring it’s evenly distributed.
- Close the Gap: Hand sew or use the sewing machine to close the opening left for stuffing.
- Attach the String: Cut a piece of ribbon or string and securely sew it to the top of your creature.
- Decorate: Use beads, buttons, or additional fabric pieces to embellish your sea creature.
- Hang and Enjoy: Find a cozy spot to display your creations.
Notes
Use a protective box or a soft pouch for storing to retain shapes. Experiment with textures and sizes for unique designs.
- Prep Time: 15 minutes
- Cook Time: 120 minutes
- Category: Craft
- Method: Sewing
- Cuisine: N/A