

Creating Rainbow Stones
As the light filters softly through a window, it casts a gentle glow on the surface of a smooth stone. In this moment, you can feel the texture beneath your fingertips, warm and inviting. The idea of transforming these unassuming stones into vibrant, joyful creations stirs a sense of calm and possibility within you. The simple act of painting with colors that mimic the brilliance of a rainbow invites a stillness, a space where creativity meets mindfulness. Here, you find solace, a way to connect with both your hands and heart through the art of creating rainbow stones.
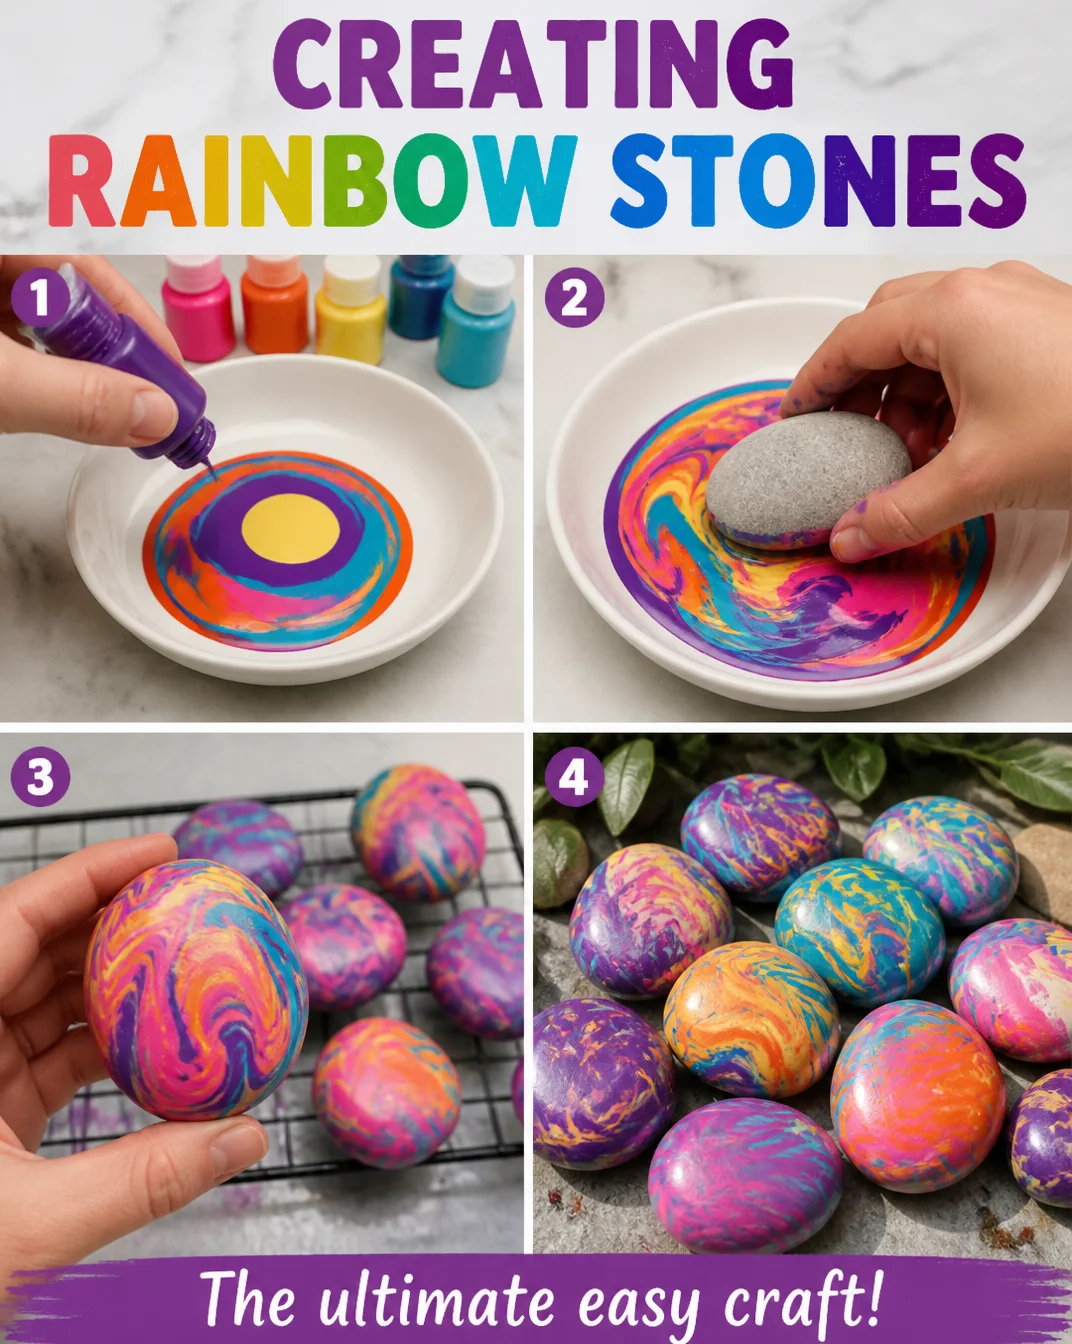
The Heart Behind This DIY
Creating rainbow stones holds a special charm. These colorful creations bring a sense of warmth and joy to our surroundings. As we make them, we engage in a thoughtful process that often leads to a moment of reflection and tranquility. Each stroke of paint becomes a form of meditation, allowing us to slow down and focus on the present.
Working with a stone feels grounding. You can almost hear the quiet whisper of your thoughts as you explore the colors. With each brushstroke, you step into a rhythm, fostering a connection not just to the materials but to your own feelings. This is about more than the final product; it is about embracing the journey of creation itself.
A Gentle Look at the Process
As we embark on this creative journey, imagine the flow of making your rainbow stones. Picture the gentle sway of your hand as it glides across the stone’s surface, the sounds of brushes dancing lightly against the rock, and the way colors blend and transform. You start by selecting stones, feeling their various shapes and sizes, before sitting down in a cozy space where you can fully immerse yourself in the process.
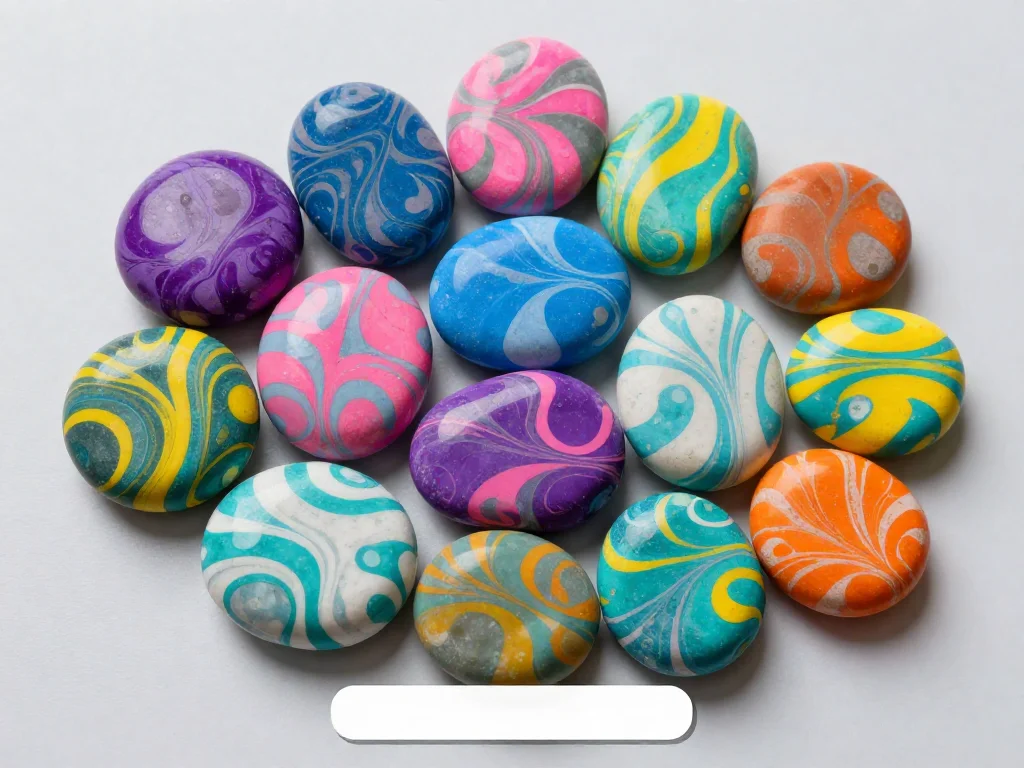
At each step, let yourself be carried away by the experience. Enjoy the softness of the paint as it glides on, the comforting scent of the materials, and the satisfaction of seeing your creation come to life. Each moment contributes to your own sense of calm and fulfillment, turning the act of making into a ritual to cherish.
Materials You’ll Need
To start creating your rainbow stones, gather the following materials:
- Smooth stones (choose various sizes for visual interest)
- Acrylic paints (consider a set of vibrant colors)
- Paintbrushes (a mix of sizes can be fun to use)
- Water cup (for cleaning brushes)
- Paper towels (to catch drips and clean hands)
- Sealer or clear varnish (optional, for lasting finish)
- Palette or plate (to hold your paints)
- Apron or old shirt (to protect your clothes)
Most of these materials are easy to find at craft stores or around your home. Feel free to substitute colors or stones based on what resonates with you.
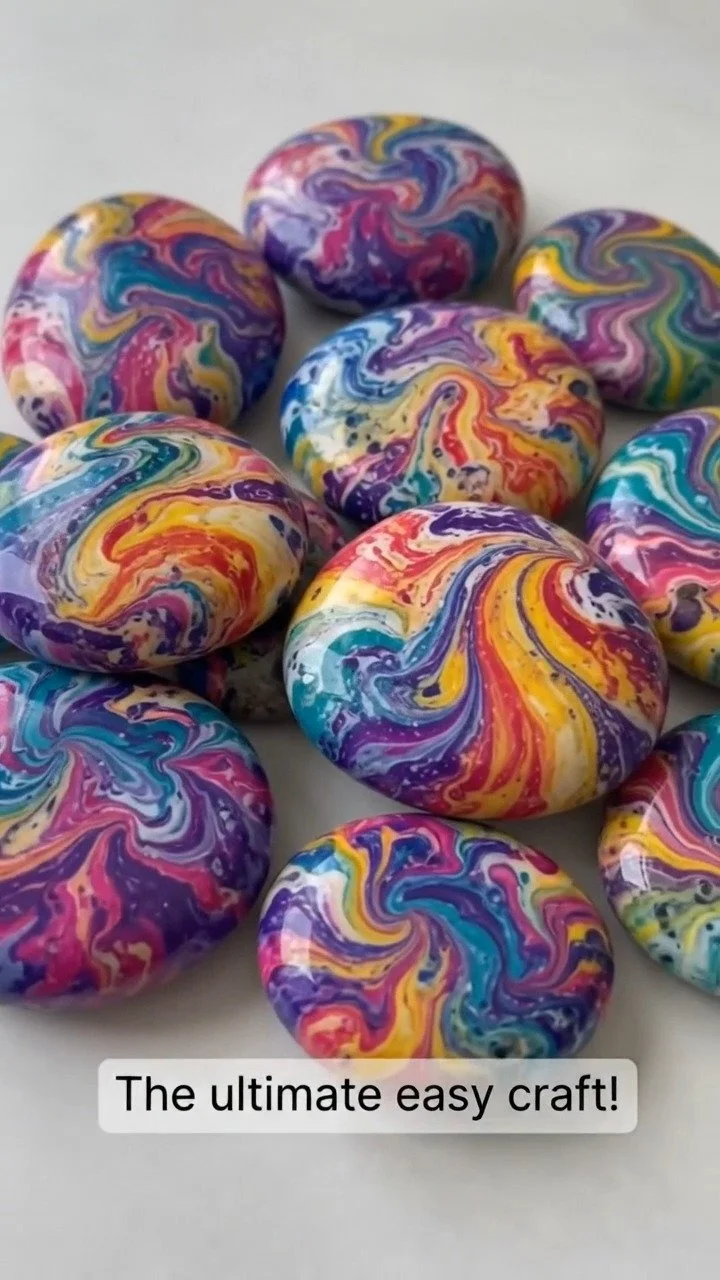
Step-by-Step Directions
-
Start by selecting your stones. Arrange them on your workspace, feeling their smooth surfaces. Choose which sides you want to paint on.
-
Gently wash the stones with soap and water to remove any dust. Rinse and let them dry completely before painting.
-
Squeeze a small amount of each chosen paint onto your palette. Notice the way the colors glisten under light.
-
Pick a brush and dip it into one of the colors. Feel the coolness of the paint as you bring it to the stone, applying the first stroke.
-
Work in layers. Start with a solid base color, covering the stone’s surface. Allow it to dry for a few minutes before adding more colors.
-
Embrace spontaneity. Consider blending colors together, perhaps swirling a bit of blue into green. Let your intuition guide your hand.
-
Once happy with your design, let the stones dry completely. This can take anywhere from an hour to a few hours, depending on the thickness of the paint.
-
If you wish for extra durability, apply a sealant once the paint is dry. This will not only protect the colors but also add a lovely shine.
-
Place your newly made rainbow stones in a cozy spot where you can enjoy them every day.
Enjoying the Finished Piece
Once your rainbow stones are complete, a joyful journey ensues as you find ways to incorporate them into your space. These colorful creations can brighten up any corner of your home. You might place them on a windowsill where sunlight dances over their surfaces, turning them into little displays of joy.
Consider using them as paperweights on your desk, bringing beauty into your workspace. You can also scatter them around your garden, letting their colors lift the spirits of anyone who passes by. Each stone can serve as a gentle reminder of the calm that comes from creating something unique with your own hands.
How to Store or Reuse Creating Rainbow Stones
Taking care of your rainbow stones involves a thoughtful approach to storage. When they are not on display, store them in a safe, dry place. A small box lined with soft fabric can cradle them gently, keeping them safe from scratches.
If you choose to move or rearrange your stones, do so with care, embracing their unique shapes and colors. The stones can also be reused, painted over with new designs when you feel inspired to change things up. Allow them to evolve, capturing new colors and moments in your life.
Gentle Tips & Variations
Creating rainbow stones can easily be personalized. Here are some gentle ideas to explore:
- Try using natural pigments found in fruits or vegetables to create earth-friendly dyes.
- Use fine brushes to add details, like stars or flowers, to your designs.
- Experiment with layering techniques, starting with lighter colors and moving to darker shades.
- Incorporate textures by using sponges or fingers for a more tactile approach.
- Consider giving them as gifts or leaving them in public spaces for fellow creators to find.
FAQs About Creating Rainbow Stones
Can I use any type of stone?
Yes, you can use any smooth stones you find. Look for river stones or even smooth pebbles from your yard. Each stone carries its unique charm and character.
What type of paint should I use?
Acrylic paints work well for this project, as they adhere nicely to stone surfaces. They come in a wide range of colors and are easy to find.
How long do they take to dry?
Drying time can vary based on the amount of paint used. Typically, allow at least an hour for the paint to dry before applying any sealant, then another few hours for the sealant to fully cure.
Can I make this a group activity?
Absolutely! Creating rainbow stones is a lovely activity for friends and family. Gather supplies together and share tips and ideas as you create.
What if I make a mistake while painting?
Mistakes can lead to surprising and beautiful outcomes. If you don’t like something, feel free to paint over it once dry or embrace the imperfection for its character.
A Gentle Note Before You Go
As you settle down to create your rainbow stones, remember that the joy lies in the interplay of colors and the tranquility of the process. Each stroke offers a chance to engage with the present, to find peace in the simple act of making. Let this project be a reminder to slow down, focusing not just on the outcome but on the feelings and experiences woven into each moment. Creating is a gentle form of self-care, an invitation to embrace creativity with open hands and a calm heart. With every rainbow stone, you weave a little more color into your world and a little more warmth into your soul.
Print
Creating Rainbow Stones
- Total Time: 240 minutes
- Yield: Multiple rainbow stones
- Diet: N/A
Description
Transform smooth stones into vibrant, joyful rainbow creations through a meditative painting process.
Ingredients
- Smooth stones (various sizes)
- Acrylic paints (vibrant colors)
- Paintbrushes (various sizes)
- Water cup (for cleaning brushes)
- Paper towels (for drips and cleaning)
- Sealer or clear varnish (optional)
- Palette or plate (to hold paints)
- Apron or old shirt (to protect clothes)
Instructions
- Start by selecting your stones. Arrange them on your workspace, feeling their smooth surfaces.
- Gently wash the stones with soap and water to remove any dust. Rinse and let them dry completely.
- Squeeze a small amount of each chosen paint onto your palette.
- Pick a brush and dip it into one of the colors. Apply the first stroke to the stone.
- Work in layers, starting with a solid base color, allowing it to dry before adding more colors.
- Embrace spontaneity and blend colors together as desired.
- Once happy with your design, let the stones dry completely.
- If desired, apply a sealant once the paint is dry for durability.
- Place your completed rainbow stones in a cozy spot for enjoyment.
Notes
These stones can serve as decorations, gifts, or simply joy-inducing elements in your home.
- Prep Time: 15 minutes
- Cook Time: 0 minutes
- Category: Crafts
- Method: Painting
- Cuisine: N/A