This post contains Amazon affiliate links. As an Amazon Associate I earn from qualifying purchases.
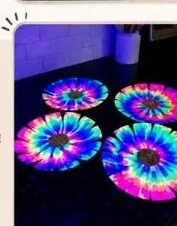
The evening light filters softly through the window, casting warm shadows as you settle into your cozy nook. You cradle the whispering petals of Glowing Flowers in your hands, feeling their gentle texture, alive with the promise of light. Each flower seems to beckon you, inviting a moment of stillness and creativity. The world outside fades, replaced by a sense of calm as you prepare to bring these delicate blooms to life.
The Heart Behind This DIY
Creating Glowing Flowers offers more than just a visual delight. It lends an opportunity to weave a narrative into your space, a soft whisper of nature’s beauty captured within your hands. The process invites intentionality, slowing your thoughts and inviting focus. Each petal you craft provides a moment to breathe deeply and appreciate the textures and colors surrounding you.
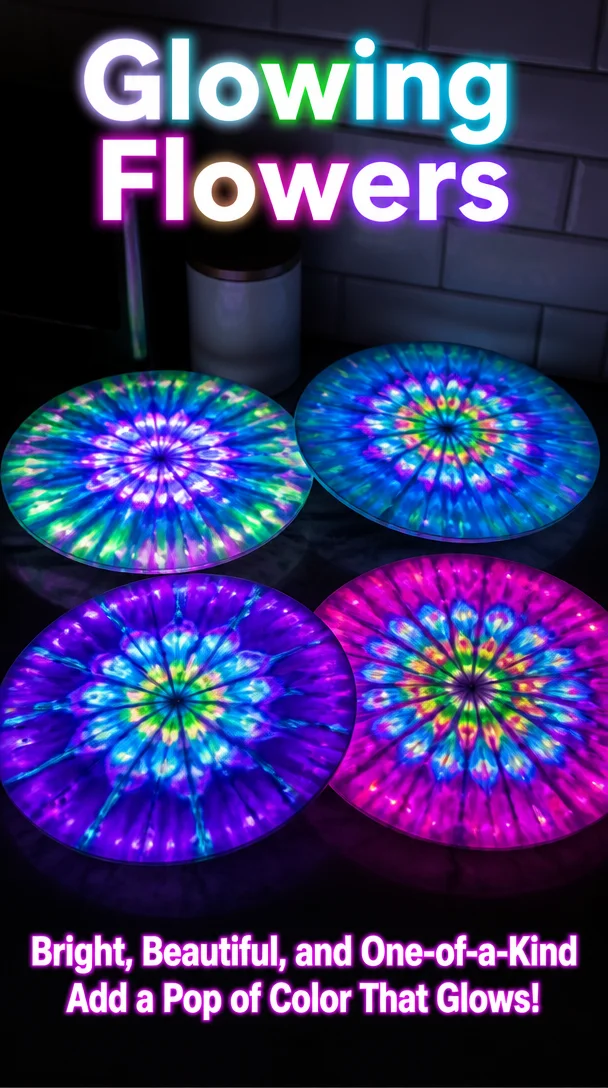
As your hands move through the materials, you become aware of the sounds—the gentle rustle of paper, the soft snip of scissors, the faint flicker of lights. These sensory experiences encourage mindfulness, steering your thoughts away from the rush of daily life. The act of making becomes a meditative escape, allowing creativity to flow freely, filling your space with warm light and tranquility.
A Gentle Look at the Process
The journey of creating Glowing Flowers unfolds like a nature-inspired dance. It begins with gathering your materials, a calming task that connects you to the project. As you touch each item, pick out colors, and plan your flowers, you engage your senses. You may notice the weight of the paper, the softness of the lights, and the stillness in the air.
As you cut, assemble, and arrange, the movements feel rhythmic, almost like a gentle breeze guiding the leaves. The light transformed within these flowers will soften your evenings, creating an atmosphere of warmth and comfort. This project invites you to savor each step while envisioning how these flowers will light up your space.
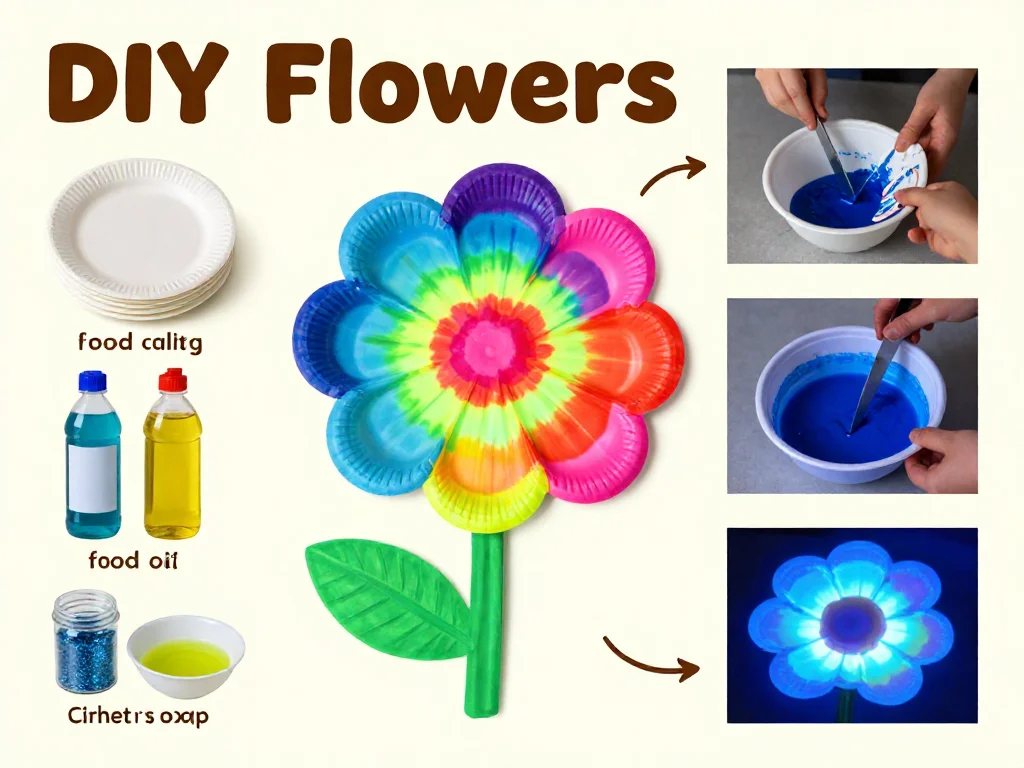
Materials You’ll Need
- Colored tissue paper (easy to find in craft stores)
- LED string lights (battery-operated or plug-in)
- Floral wire or pipe cleaners (optional, for added structure)
- Scissors (your steady helper)
- Glue or double-sided tape (simple and effective)
- A small bowl of water (for dampening the paper, if needed)
These materials come together harmoniously. The colors of the tissue paper summon the essence of flowers, while the lights promise to illuminate your creations, making them glow with life. The floral wire or pipe cleaners remain optional but can provide an extra touch of stability to your blooms.
Step 1: Prepare Your Workspace
Begin by creating a calm environment. Clear a flat surface where you can spread out your materials. Allow a gentle light to fill the space, bringing a cozy ambiance that invites creativity.
Step 2: Cut the Tissue Paper
Choose your colors and start cutting the tissue paper into circles. Aim for various sizes, perhaps ranging from three to six inches in diameter. Let each cut be deliberate and gentle, taking your time to enjoy the smooth feel of the paper beneath your fingers.
Step 3: Soften the Edges
If you prefer a softer look, you can lightly dampen the edges of each paper circle with a bit of water. This step is optional but adds a delicate touch, making it feel more like a petal caught in a light rain.
Step 4: Layer the Circles
Start layering the circles on top of one another, alternating colors. Create a sense of depth by stacking four or five circles together. Allow your intuition to guide you as you experiment with arrangements.
Step 5: Form the Flower Shape
Gently pinch the center of your layered circles together, forming a flower shape. You can use floral wire or a pipe cleaner to secure the base of the flower by twisting it tightly. This step gives the flower form and ensures it can hold its shape when placed around the lights.
Step 6: Attach the Flower to the Light
Now it’s time to bring your flower to life. Choose a spot on the LED string lights and slide your flower down to attach it. Use your glue or tape to secure the base if needed. Allow the flower to rest slightly open, as if it has just bloomed.
Step 7: Repeat the Process
Continue making more flowers, following the same steps. Enjoy the rhythm of creation, letting your hands feel the different textures and colors. As the flowers begin to populate the lights, take time to admire the blooming display.
Enjoying the Finished Piece
As you step back to observe your Glowing Flowers, a sense of accomplishment washes over you. These delicate blooms not only bring light into your space but also embody moments of creativity and peace.
Once assembled, drape your glowing flowers over a shelf, wrap them around a mirror, or hang them in a window. Wherever you choose to place them, they will infuse warmth, turning any room into a cozy retreat. The soft glow will evoke the calm of twilight, inviting you to unwind and reflect as the sun sets.
Keeping It for Later
To ensure your Glowing Flowers maintain their charm, store them gently when not in use. If your flowers are made from paper, be cautious not to crush them. Placing them in a sturdy box lined with soft fabric can keep their delicate structure intact.
If you want to reuse them, simply remove any flowers that have been damaged or no longer fit your seasonal aesthetic. You can refresh their appearance each year, crafting new colors or styles that align with the rhythm of seasons.
Gentle Tips & Variations
- Embrace Color Variations: Allow your imagination to roam. Try various shades and layers to reflect different moods or themes.
- Incorporate Scent: If you desire, you can lightly spray some of the petals with a calming essential oil. Imagine lavender or eucalyptus wafting through the air as the light glows softly around.
- Add Natural Elements: Consider mixing in dried flower petals or small branches woven among the lights, bringing a touch of nature to your project.
- Experiment with Shapes: Instead of only circles, explore various petal shapes. Let your creativity flow; each shape can represent the flowers in your garden.
- Include Personal Touches: Personalize your flowers by writing loving notes or words that inspire peace on the petals with a fine-tip marker.
FAQs About Glowing Flowers
What kind of lights work best for the glowing flowers?
Battery-operated LED string lights work wonderfully. They offer a gentle ambiance and flexibility in placement. Choose ones that do not get hot to touch for safety.
Can I use other materials instead of tissue paper?
Yes, indeed! If you have lightweight fabric, old book pages, or even brown paper, you can explore their textures and colors for your flowers.
How do I make my flowers last longer?
Keep them away from direct sunlight to prevent fading. Store them properly during off-seasons, and handle them gently to maintain their shape.
What if I want to create larger flowers?
Feel free to use larger circles of paper and longer wire or pipe cleaners. Adjusting the scale can create stunning, eye-catching pieces.
Can these flowers be used indoors and outdoors?
While they shine beautifully indoors, consider using outdoor-safe materials or lamp-type lighting if displaying them outside to ensure they last against the elements.
A Gentle Note Before You Go
Taking time to create Glowing Flowers allows you to experience the calming effects of mindful making. This project unfolds gently, reminding you to embrace each moment. Whether you hang them in your living space, give them as gifts, or keep them as a personal treasure, cherish the warmth they bring.
As you create, remember that this journey of making holds as much beauty as the final product. Let your imagination flourish, your heart slow, and your spirit find comfort in the art of creation. Each flower is not just a piece of decor; it is an embodiment of your calming journey, lighting the way to moments of peace and reflection.
Print
Glowing Flowers
- Total Time: 15 minutes
- Yield: Varies - create as many flowers as desired
- Diet: N/A
Description
Transform tissue paper and LED lights into enchanting glowing flowers, bringing warmth and creativity to your space.
Ingredients
- Colored tissue paper
- LED string lights (battery-operated or plug-in)
- Floral wire or pipe cleaners (optional)
- Scissors
- Glue or double-sided tape
- A small bowl of water (for dampening the paper)
Instructions
- Prepare your workspace by clearing a flat surface and creating a calm environment.
- Cut the tissue paper into circles, varying sizes from three to six inches in diameter.
- Soften the edges of each paper circle by lightly dampening them with water (optional).
- Layer the circles, alternating colors and stacking four or five together.
- Form the flower shape by pinching the center of the circles together and securing with floral wire or pipe cleaner.
- Attach the flower to the LED string lights, securing the base with glue or tape as needed.
- Repeat the process to create additional flowers, enjoying the rhythm of creation.
Notes
Store flowers gently when not in use to maintain their shape and beauty. Consider adding personal touches like essential oils or handwritten notes on the petals.
- Prep Time: 15 minutes
- Cook Time: 0 minutes
- Category: Crafts
- Method: Handcrafted
- Cuisine: N/A