

Making Bioplastic at Home
There is a soothing rhythm to working with your hands, a gentle flow that calms the mind. Picture the warm sunlight filtering through the window, casting soft shadows across your table. The air holds a subtle sweetness as you prepare to create something uniquely yours. You gather simple ingredients, excited to transform them into bioplastic. The anticipation fills you with a quiet joy, the kind that feels like nurturing a small plant. This journey of making bioplastic at home invites you to explore textures, shapes, and the gentle wonders of transformation.
The Heart Behind This DIY
Creating bioplastic at home serves as more than just an activity; it becomes a mindful practice. Each step engages the senses and brings a profound awareness to the present moment. As you slow down to prepare the ingredients, there’s a comforting connection with the natural world. The ingredients intertwine, reminiscent of the fluid dance of nature that binds everything together. This process gently encourages you to focus, breathe, and savor each moment.
The simple combination of cornstarch, water, and a few other household ingredients allows you to make something intended to replace synthetic materials. The act of creating something sustainable pulls you out of the rush of daily life. As you work, you decorate your space with intentions of care for the environment, soothing your soul in the process. Not only does making bioplastic help lower your carbon footprint, but it also feels healing, grounding you in creativity.
A Gentle Look at the Process
The act of making bioplastic unfolds beautifully, inviting your hands to enjoy the textures and movements along the way. You begin by mixing the ingredients, feeling the smoothness of the cornstarch as it gracefully glides through your fingers. Stirring brings forth the comforting sounds of a gentle clink as the spoon interacts with the bowl. As the concoction heats, you notice the warm steam rising, enveloping you in a cozy embrace.
This process is calm and rhythmic, each step flowing into the next like a well-rehearsed melody. You’ll measure, mix, and shape, engaged in tactile experiences that nourish your spirit. It is this sensory familiarity pulls you deeper into the moment, allowing your worries to fade.
Gathering Your Materials
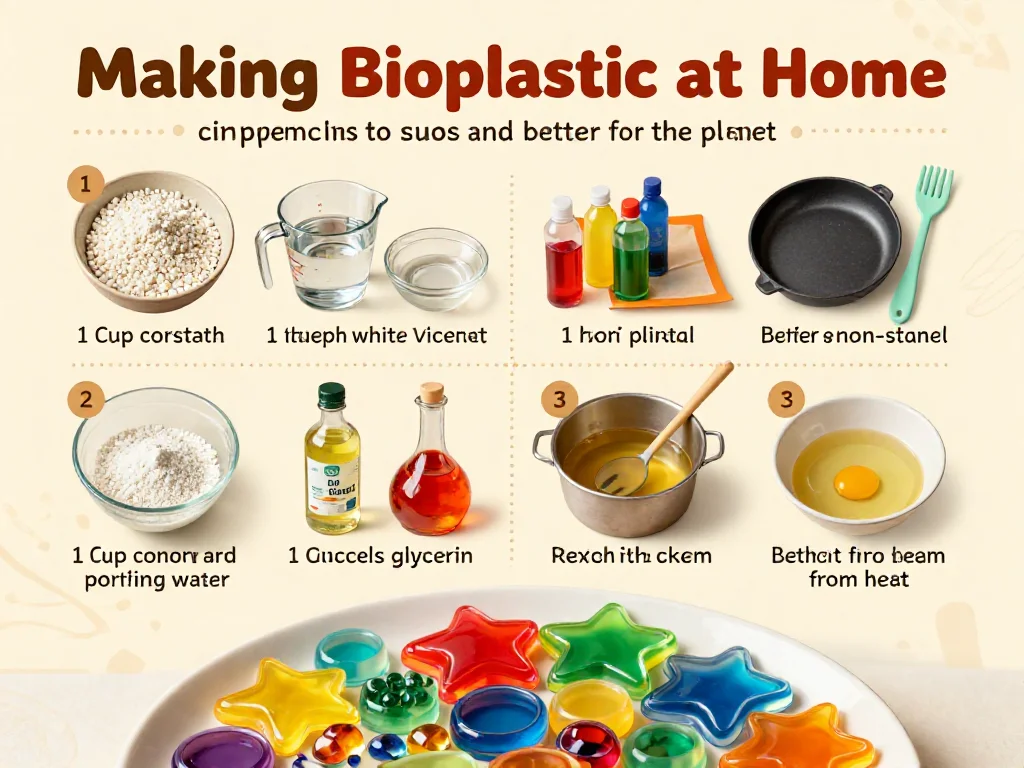
To embark on this delightful journey, gather these simple materials:
- 2 tablespoons of cornstarch (easy to find in most kitchens)
- 4 tablespoons of water
- 1 teaspoon of white vinegar (optional but helps stabilize the bioplastic)
- 1 teaspoon of glycerin (optional; adds flexibility)
- Cooking oil (for greasing)
- A small saucepan
- A spoon for stirring
- A flat surface to shape the bioplastic
These supplies are typically within reach, making the experience feel welcoming and accessible.
Step-by-Step Directions
- Start by placing the cornstarch in your small saucepan.
- Gradually pour in the water, stirring gently to combine until you achieve a smooth mixture.
- Add the white vinegar and glycerin, stirring softly as the mixture comes together into a glossy paste.
- Place your saucepan over low heat, continuously stirring with your spoon.
- Watch as the mixture gradually thickens, transforming into a malleable substance — this part is mesmerizing.
- Once it reaches a thick consistency, remove it from heat and let it cool slightly.
- Coat your flat surface lightly with cooking oil to prevent sticking.
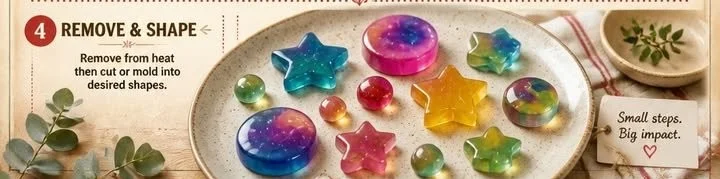
- Pour the warm mixture onto the greased surface and shape it with your hands, embracing the warm, comforting texture.
Enjoying the Finished Piece
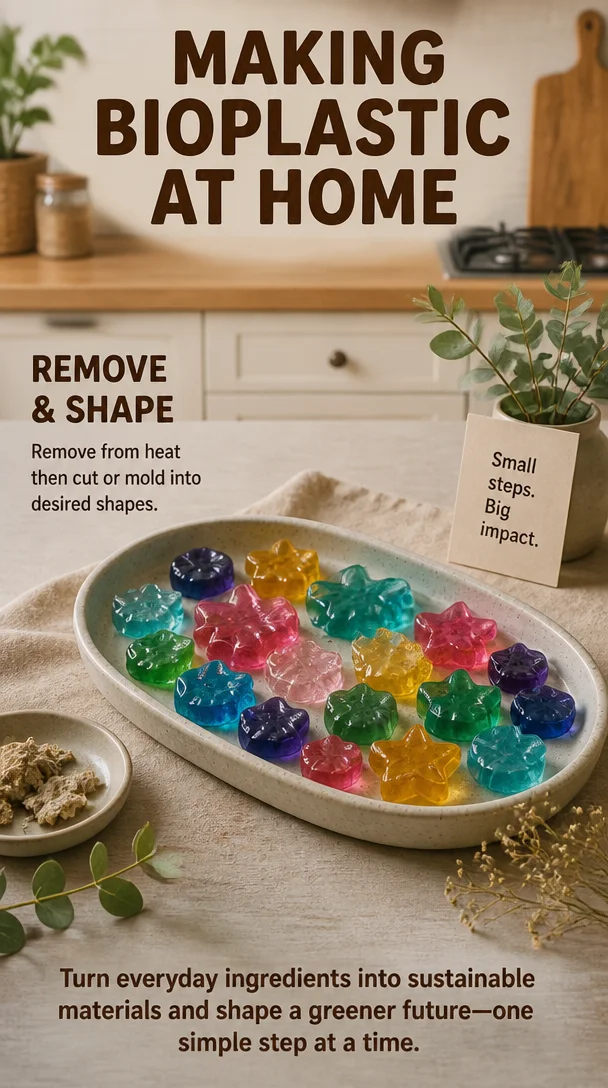
Once your bioplastic has set, it becomes a canvas for your creativity. You can fashion it into small beads for jewelry, clips, or even coasters. Each piece crafted holds the essence of your hands and intentions. Decorating these creations with paints or simple patterns adds a personal touch, making them even more meaningful.
Displaying your finished pieces brings a sense of pride to your space. Whether on a windowsill bathed in golden light or hung as part of a gallery wall, these little wonders offer a reminder of the joy that comes from mindful making. They can also be practical, providing sustainable alternatives to plastic in everyday life.
How to Store or Reuse Making Bioplastic at Home
Storing your bioplastic creations is quite effortless. Keep them in a dry, cool place to preserve their shape and texture. A breathable bag, or a box lined with cloth, allows for air circulation while keeping dust at bay. If you want to reuse the material, soak it gently in warm water to revive its pliability, then reshape it for another project.
Be mindful that over time, bioplastic can degrade, especially in humid environments, so enjoying these creations sooner rather than later adds to the charm of their impermanence.
Small Ways to Make It Your Own
As you embark on this serene crafting journey, consider these gentle suggestions:
- Experiment with colors. Add natural dyes like beet juice or turmeric to enhance the visual appeal of your bioplastic.
- Try molding different shapes. Use cookie cutters or simple molds from your kitchen to create unique designs.
- Infuse scents. Mix in a few drops of essential oils like lavender or cedarwood to bring a calming aroma to your pieces.
- Create functional items. Socks or pouches made from bioplastic can be beautiful for small gifts or to hold trinkets.
These ideas act as invitations to explore, nudging you to personalize the process in ways that resonate with you.
FAQs About Making Bioplastic at Home
Can I use other starches?
Absolutely! You can use potato or tapioca starch instead of cornstarch for a different texture or effect. Each ingredient brings its character to your creation.
How long will my bioplastic last?
Bioplastic may last a few weeks to months, depending on your environment. Keeping it dry and cool helps preserve its form, so it’s best to use it in drier conditions whenever possible.
Can I really compost my bioplastic?
Yes, indeed! Bioplastic is generally biodegradable, especially when made with natural ingredients. However, make sure it breaks down properly in a compost pile filled with the right conditions.
What if it doesn’t thicken?
If your mixture remains too runny, try adding a bit more cornstarch, whisking it in slowly, and returning it to low heat. Sometimes cooking a bit longer helps.
Is this safe for children to make?
Supervised making is best, as some aspects involve heating. With guidance, children can enjoy the sensory elements of the process, but safety always comes first.
A Gentle Note Before You Go
In a world full of haste, making bioplastic at home offers a gentle counterbalance. Each step invites you to slow down and become present. As you engage in this creative process, cherish the time you spend nurturing not just your hands, but also your spirit. Remember, every project holds the potential for reflection, mindfulness, and a deepened connection to your surroundings. Embrace the quiet joy and satisfaction that a simple DIY can bring into your life.
Print
Making Bioplastic at Home
- Total Time: 20 minutes
- Yield: 1 batch of bioplastic
- Diet: N/A
Description
A serene and creative process to make bioplastic using simple household ingredients, providing a sustainable alternative to synthetic materials.
Ingredients
- 2 tablespoons cornstarch
- 4 tablespoons water
- 1 teaspoon white vinegar (optional)
- 1 teaspoon glycerin (optional)
- Cooking oil (for greasing)
- A small saucepan
- A spoon for stirring
- A flat surface for shaping
Instructions
- Start by placing the cornstarch in your small saucepan.
- Gradually pour in the water, stirring gently to combine until you achieve a smooth mixture.
- Add the white vinegar and glycerin, stirring softly as the mixture comes together into a glossy paste.
- Place your saucepan over low heat, continuously stirring with your spoon.
- Watch as the mixture gradually thickens, transforming into a malleable substance.
- Once it reaches a thick consistency, remove it from heat and let it cool slightly.
- Coat your flat surface lightly with cooking oil to prevent sticking.
- Pour the warm mixture onto the greased surface and shape it with your hands.
Notes
Store your bioplastic creations in a dry, cool place to preserve their shape. They can also be gently soaked in warm water to reuse.
- Prep Time: 10 minutes
- Cook Time: 10 minutes
- Category: DIY
- Method: DIY
- Cuisine: N/A