

The Heart Behind This DIY
As the sun filters through the leaves, casting a soft glow across the room, creating a space filled with warmth and light feels like magic. The colors dance around, each shift reminding us of nature’s cycles. This enchanting ballet of light is beautifully complemented by DIY pressed flower resin suncatchers. These delicate creations preserve blooming treasures, allowing you to bring a touch of nature indoors. With each flower encased in resin, the suncatcher becomes a glowing piece of art, transforming the ordinary into the extraordinary. Here, we explore the comforting nature of this project, inviting you to slow down, breathe, and engage in a meaningful creative practice.
A Gentle Look at the Process
Making pressed flower resin suncatchers unfolds like a gentle breeze through a sunlit garden. It starts with a calm selection of flowers, each petal telling its own story. The gathering of materials is soothing, encouraging you to appreciate the textures and colors of nature’s palette. As you prepare to work with resin, you will feel its smoothness in your hands, and the scent of the flowers can wrap around you like a tender hug.
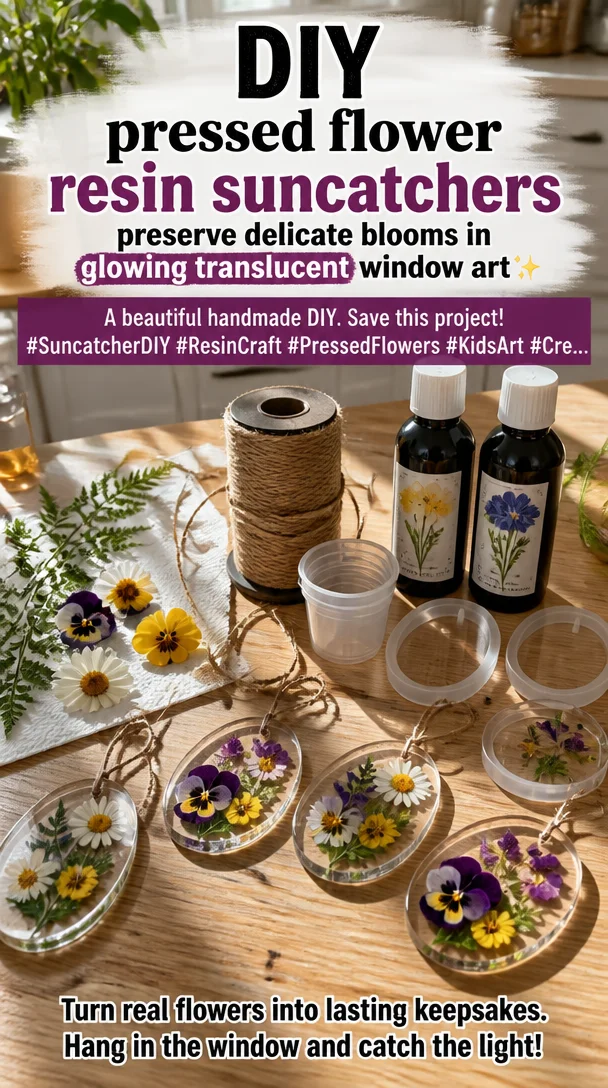
This project invites you to step into a flow of creativity that feels both purposeful and relaxing. As you mix the resin, the warm, viscous liquid settles into your container, waiting to cradle your blooms. The delicate placement of each flower becomes a mindful act, allowing your thoughts to drift and settle with each layer poured. This process nurtures a sense of peace and presence, reminding you that beauty comes not only from the end result but from each thoughtful moment spent in the act of creating.
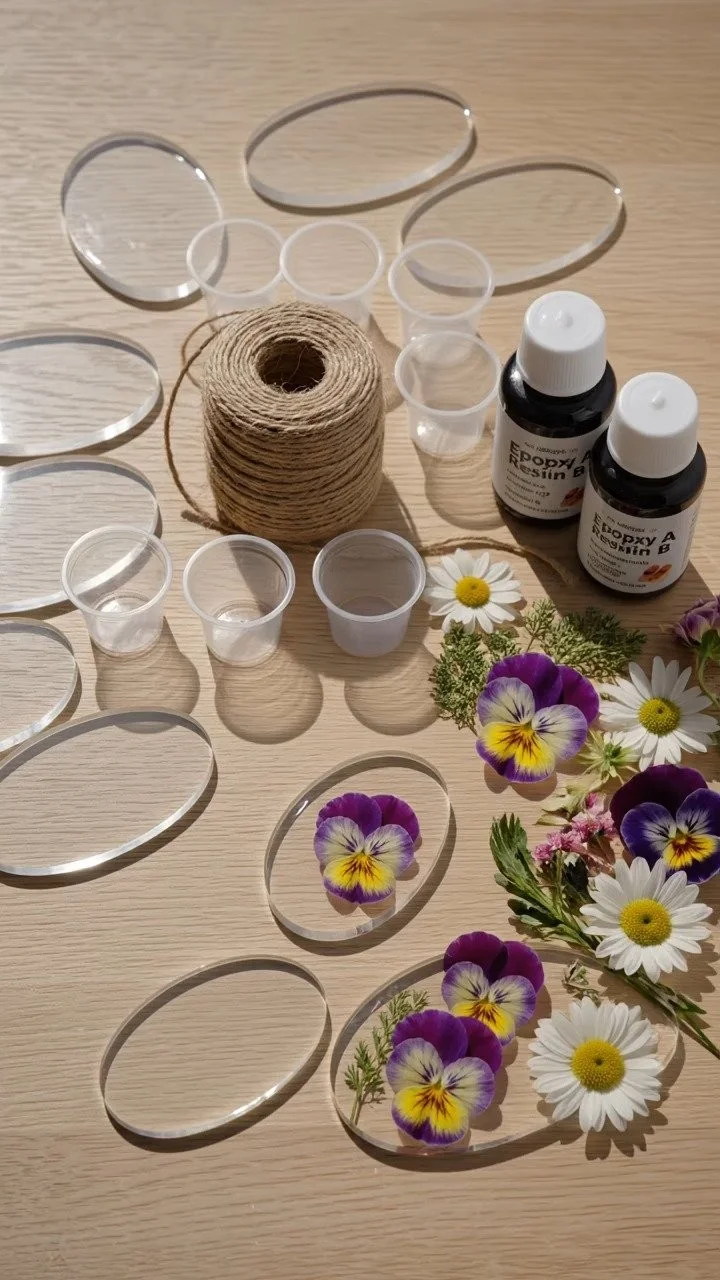
Gathering Your Materials
To embark on this cozy crafting journey, gather the following materials:
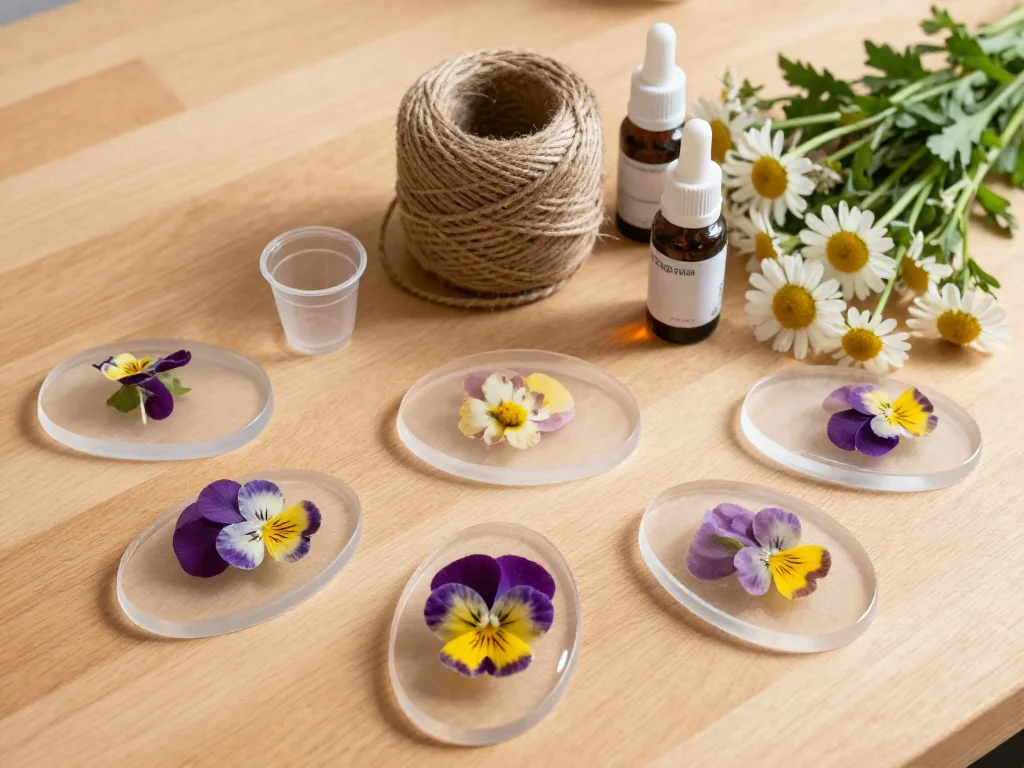
- Pressed flowers (easy to find or make your own)
- Clear epoxy resin (available at craft stores)
- Mixing cups (disposable or reusable)
- Stirring sticks (wooden or plastic)
- A mold for your suncatcher (silicone molds work well)
- Gloves (to protect your hands)
- A flat surface for pouring
- Clear packing tape (optional for securing flowers)
- A heat gun or lighter (for bubbles, optional)
You can choose flowers that resonate with you personally or those that remind you of cherished memories. If you’re looking for something easy to work with, consider daisies, violets, or small roses. Each flower will add its unique touch and color, contributing to the overall beauty of your suncatcher.
Step-By-Step Directions
-
Prepare Your Workspace: Clear a calm, flat surface where you can work. Gather all your materials, placing them within reach.
-
Select and Press Flowers: If you have fresh flowers, press them between heavy books or use a flower press for a few days. Ensure they are completely flat and dry.
-
Mix the Resin: In a mixing cup, pour equal parts of resin and hardener. Stir gently but thoroughly for about three minutes. Watch as it transforms from cloudy to clear.

-
Pour the First Layer: While gently stirring, pour a thin layer of resin into the mold. This layer will serve as a base for your flowers. Let this layer cure for about 30 minutes until slightly tacky.
-
Arrange the Flowers: Carefully place your pressed flowers onto the tacky resin layer. Feel free to experiment with their positioning. Once they are placed, you can lightly press them down.
-
Add More Resin: Pour more resin over your flowers, ensuring they’re completely covered. If you’d like to add another layer, allow the first to cure slightly before adding more.
-
Remove Bubbles: After pouring, gently wave a heat gun or lighter above the surface of the resin to eliminate any bubbles. Make sure not to overheat it.
-
Cure Completely: Cover your mold and let your suncatcher cure for at least 24 hours. This ensures it hardens fully and will handle light beautifully.
-
Demold Your Suncatcher: Once it’s completely cured, gently peel away the mold. Your beautiful piece should pop out easily, with all the flowers preserved.
-
Finish and Display: If you’d like, drill a small hole at the top to add a hook or string for hanging. Choose a window that receives the sun, and enjoy the glow of your artistry.
Enjoying the Finished Piece
Once your DIY pressed flower resin suncatcher is complete, the joy continues in its display. Hang it in a window where sunlight streams through, creating a soft dance of color on the walls. Imagine hosting friends or winding down after a day, with the delicate light filtering into the room, gently illuminating spaces with the essence of nature.
Each time sunlight hits your suncatcher, it will evoke warmth and nostalgia, reminding you of the time spent creating this cozy piece of art. It becomes a small slice of tranquility in your day, bringing moments of peace and mindfulness.
Caring for Your Finished DIY
Maintaining the beauty of your suncatcher will ensure it remains a cherished piece in your home. To preserve its allure:
-
Store Properly: If not displayed, keep it in a cool, dry place away from direct sunlight to prevent fading of colors.
-
Clean Gently: When it needs a dusting, use a soft microfiber cloth dampened with water. Avoid harsh cleaners that might damage the resin.
-
Check for Damage: Regularly inspect for cracks or chips. If any appear, address them gently; you may consider re-sealing with additional resin if necessary.
Embracing these gentle care tips can help this handmade piece last for years, serving as a beautiful reminder of the time spent crafting.
Calm Customization Ideas
Adding a personal touch to your suncatcher can make it even more special. Here are some gentle invitations to customize:
-
Experiment with Colors: Try using colored resin to complement the flowers or to create gradients in your suncatcher, enhancing the visual play of light.
-
Incorporate Small Mementos: Consider including tiny sentimental items like a piece of ribbon, dried herbs, or small shells that evoke memories.
-
Seasonal Updates: Change out the flowers with the seasons, reflecting the natural changes around you. Think bright daisies in spring, fiery leaves in autumn, or evergreen pine sprigs in winter.
-
Use Different Shapes: Explore various mold shapes, perhaps hearts or stars, to suit the decor of your home, or mix and match various designs to create a gallery.
These invitations can lead you to deeper personal expressions, making every suncatcher a unique piece of your journey.
FAQs About DIY pressed flower resin suncatchers preserve delicate blooms in glowing translucent window art
What type of flowers work best for this project?
Look for flowers that are flat and not too thick. Daisies, violets, and pansies work wonderfully. Ensure they are dry when using, so they do not release moisture into the resin.
How do I know the resin is fully cured?
You can test the resin by gently pressing it with your fingernail. If it feels firm and does not leave an imprint, it’s fully cured. This usually takes about 24 hours, but check the manufacturer’s instructions for specifics.
Is it safe to work with resin?
Yes, as long as you follow safety precautions. Consider wearing gloves and working in a well-ventilated area to ensure your comfort and safety while crafting.
Can I mix colors into the resin?
Absolutely! You can use resin dye or even mica powder to add color to your mixture. Just remember to mix thoroughly to avoid inconsistencies.
What should I do if bubbles form in the resin?
If bubbles appear, gently warming them with a heat gun or lighter can help them rise to the surface and pop. Do this carefully, keeping the heat source moving.
A Gentle Note Before You Go
In the gentle act of crafting DIY pressed flower resin suncatchers, you create more than just an art piece. You weave tranquility into your life, allowing nature’s essence to shine through your home. As the daylight dances against your completed work, remember to embrace these calm moments, letting them enrich your day. Your journey doesn’t just end with this project; it begins a conversation between you and the beauty around you, reminding you to create and celebrate each moment. As you let go and explore your own creativity, may you find joy and calm in every step of the way.
Print
DIY Pressed Flower Resin Suncatchers
- Total Time: 1440 minutes
- Yield: 1 suncatcher
Description
Create beautiful pressed flower resin suncatchers that bring the essence of nature indoors. This calming DIY project allows you to preserve blooms while engaging in a meaningful creative practice.
Ingredients
- Pressed flowers (daisies, violets, or small roses)
- Clear epoxy resin
- Mixing cups
- Stirring sticks
- Silicone molds
- Gloves
- Flat surface for pouring
- Clear packing tape (optional)
- Heat gun or lighter (optional)
Instructions
- Prepare your workspace: Clear a calm, flat surface where you can work.
- Select and press flowers: Press fresh flowers between heavy books for a few days until flat and dry.
- Mix the resin: In a mixing cup, combine equal parts resin and hardener. Stir for about three minutes.
- Pour the first layer: Pour a thin layer of resin into the mold, let it cure for about 30 minutes until slightly tacky.
- Arrange the flowers: Place your pressed flowers onto the tacky resin layer and lightly press them down.
- Add more resin: Pour additional resin over the flowers until they are completely covered.
- Remove bubbles: Use a heat gun or lighter above the surface to eliminate bubbles.
- Cure completely: Cover the mold and let cure for at least 24 hours.
- Demold your suncatcher: Peel away the mold to reveal your beautiful piece.
- Finish and display: Drill a small hole to add a hook or string for hanging.
Notes
Experiment with colors and shapes for a personalized touch. Change flowers seasonally for different aesthetics.
- Prep Time: 15 minutes
- Cook Time: 0 minutes
- Category: Crafts
- Method: Crafting