

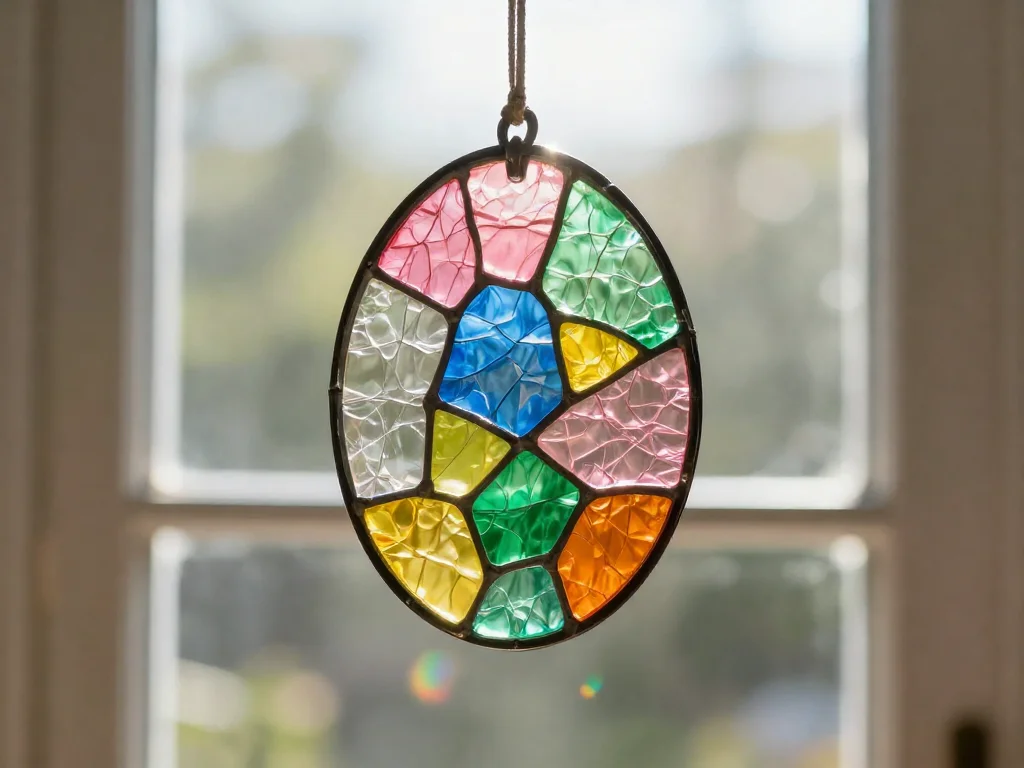
Creating a lovely, swirling suncatcher that mimics the beauty of stained glass can evoke a sense of warmth in our spaces. As sunlight pours through the windows, it transforms your home into a canvas of color. When the light dances upon the surface of your creation, it fills the room with a soft, enchanting glow. This moment of connection between light and art brings a satisfying calm, inviting you to pause and breathe deeply in the comforting beauty of your surroundings. This simple yet vibrant project, a fake stained-glass window suncatcher, shines brilliantly, and you might want to keep this magical decorative DIY close at hand.
The Heart Behind This DIY
Creating your own stained-glass suncatcher is more than just a craft; it’s a gentle reminder to slow down. In our busy lives, it provides an opportunity to focus on texture, color, and the rhythm of your hands moving through the steps. Gathering materials connects you to the present, offering a meditative experience filled with sensory joys.
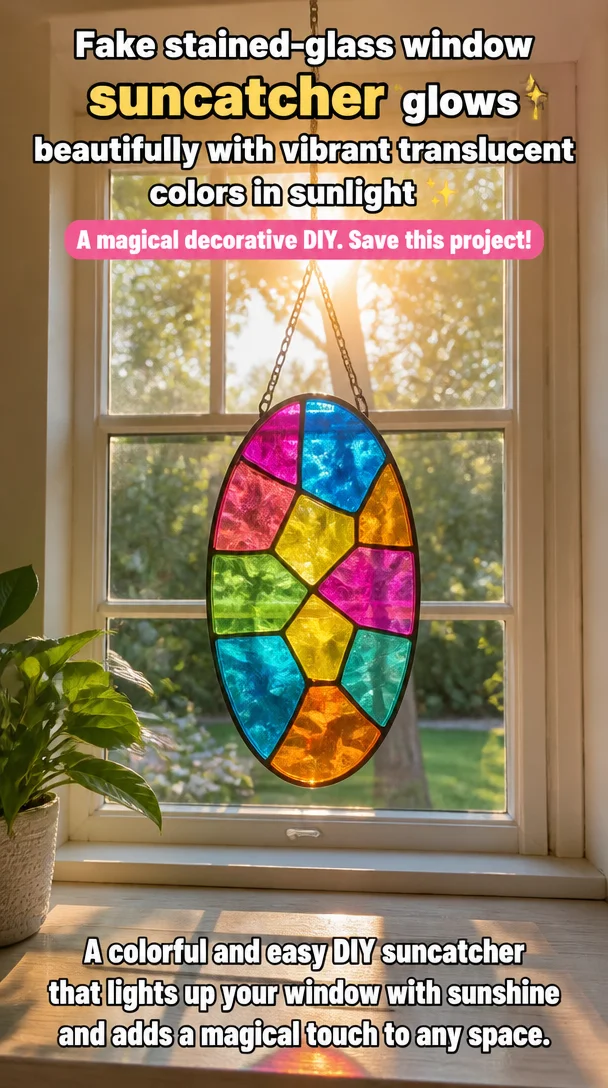
As you pour vibrant paints onto your workspace, the smell of creativity mingles with a soft, rich aroma. Your fingers brush against smooth surfaces, feeling warm glue and silky paints glide effortlessly under your touch. Each color choice becomes a personal expression—a reflection of your feelings and the atmosphere you wish to cultivate in your home. Creating this piece captures a stillness, inviting calmness into your busy day.
A Gentle Look at the Process
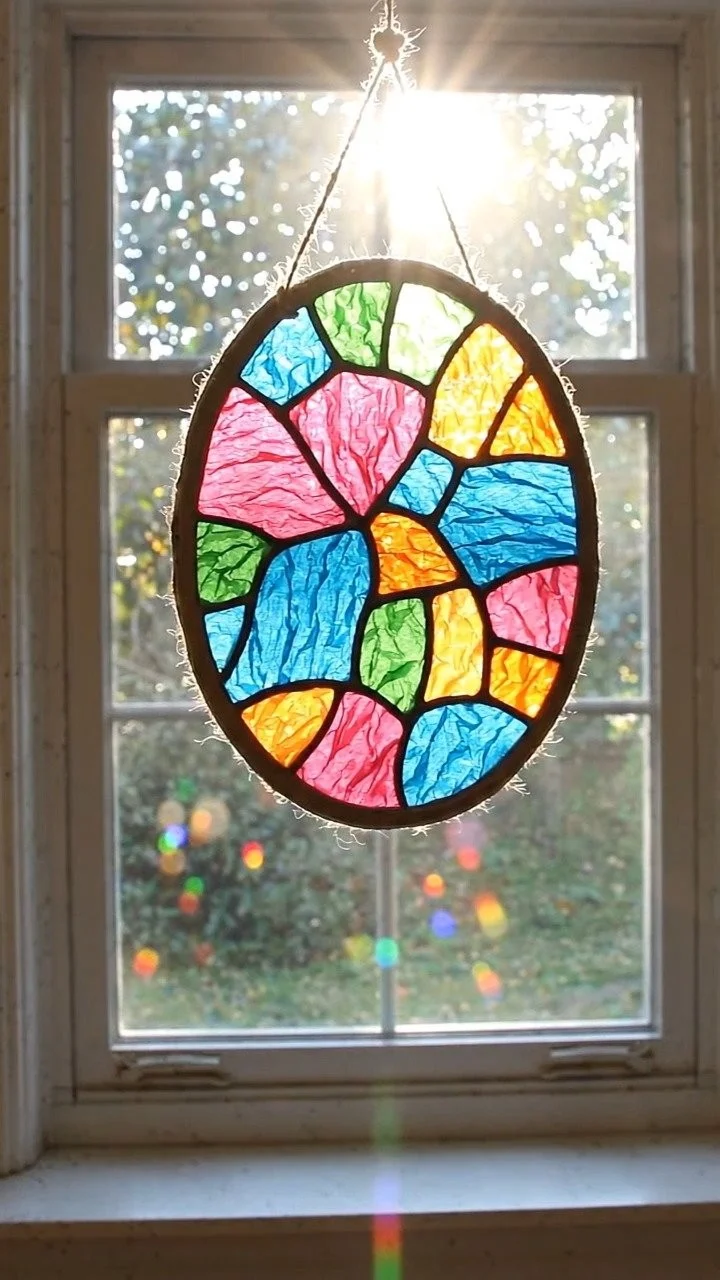
Before you begin making your suncatcher, it’s helpful to envision the flow of your creative journey. As you set your materials on a soft, inviting surface, the world outside fades a little. Each step unfolds gently, a soft rhythm inviting you into a place of focus. Picture the crackle of tissue paper as you tear and arrange, the smoothness of glue as you spread it carefully, and the vibrant colors unfolding before your eyes.
You will layer your textures and tones, paying attention to how sunlight transforms your creation with warmth. This process unfolds at your pace, encouraging you to tune into each subtle moment. Letting the moments breathe, feel the anticipation grow as you create your lovely suncatcher.
Materials You’ll Need
Gathering the right materials enhances your experience. Here’s a simple list of what you will need for your vibrant suncatcher:
- Clear contact paper (easy to find at craft stores)
- Tissue paper in various colors (substitute with colored paper, if you prefer)
- Scissors (for those delicate cuts)
- A pencil (for gentle sketching)
- Mod Podge or white school glue (to seal and protect)
- A paintbrush (for smooth, easy application)
- Optional: A string or ribbon (for hanging your creation)
- Optional: A frame (to add that extra touch of detail)
Each material offers a unique texture and feel, enhancing the warmth and familiarity of your project.
Step-by-Step Directions
-
Begin by taking a piece of clear contact paper and peeking at its shine under the light. Cut it to your desired suncatcher size. Allow the edges to reflect light beautifully.

-
On one side of the contact paper, peel off the backing gently. The stickiness will invite the next layer, much like a loving embrace.
-
Tear or cut colorful tissue paper into assorted shapes. Use your hands to feel the soft edges, creating a range of sizes and designs.
-
Place the tissue pieces onto the sticky side of the contact paper. Allow your personality to come through. There’s no wrong way—just follow the gentle flow.
-
Once you have arranged all the colors, take another piece of clear contact paper if desired, and place it over your design. This shields your creation while adding a lovely texture.
-
Using scissors, trim the edges, giving your suncatcher a polished shape. Feel the satisfaction in your hands as you create each smooth edge.
-
If you wish to finish with a frame, carefully place it around your suncatcher, providing a crisp contrast with the vibrant colors.
-
For hanging, attach a string or ribbon gently to the top. Feel the warmth of accomplishment as you prepare to bring vibrancy into your space.
-
Finally, find a window where the sunlight can grace your creation. Hang it with care, watching as colors brighten with the soft touch of light.
Enjoying the Finished Piece
Now that you have completed your fake stained-glass window suncatcher, take a moment to admire it. Discover the way light filters through, casting a dance of warmth in your chosen space. This little piece of art invites you to experience your surroundings anew, offering a calm breathing space where you can simply pause and reflect.
Place it where you often sit down with a book or near a cozy chair where you can sip tea. The ever-changing hues will become companions during quiet mornings and evenings filled with stars.
Keeping It for Later
With careful handling, your suncatcher can be a beautiful part of your home for many seasons. If it ever collects dust, gently wipe it with a soft cloth, keeping the colors vibrant and welcoming.
You may also wish to store it safely during seasonal changes. When packing it away, wrap it softly in tissue or a light cloth to keep the colors preserved. Upon re-hanging it, remember the gentle thrill of creating it anew, bringing back memories wrapped in color and light.
Gentle Tips & Variations
Creating is also about personal expression. Here are a few gentle invitations for small ways to make your suncatcher even more uniquely yours:
- Explore different materials: Try using leaves, flower petals, or old magazines for a creative twist on texture and color.
- Experiment with shapes: Instead of traditional forms, consider abstract designs that reflect your feelings or the patterns of your favorite memories.
- Add sparkle: Use a few drops of glitter or metallic paint to enhance the shimmer of your piece.
- Change the size: Create multiple smaller suncatchers to allow varied placements around your home, creating an enchanting array of light.
- Create theme sets: Make suncatchers for different seasons, infusing your space with fresh vibrancy throughout the year.
FAQs About Fake stained-glass window suncatcher glows beautifully with vibrant translucent colors in sunlight
Q: What kind of tissue paper should I use?
A: Any colored tissue paper works wonderfully here. You can also experiment with others, like crepe paper, for a different texture.
Q: How do I hang my suncatcher safely?
A: If you’re using string or ribbon, tie it securely but gently. You can use adhesive hooks for easy removal without damaging walls.
Q: Can I store my suncatcher for future use?
A: Absolutely! Just wrap it softly in tissue paper and store it in a dry place to preserve the colors and protect it from scratches.
Q: Is this project safe for children?
A: Yes, with adult supervision. Children can enjoy the tearing and arranging process, but using scissors and glue should be managed by an adult.
Q: How long does it take for the Mod Podge to dry?
A: Typically, 15 to 20 minutes for a surface touch, but it’s best to allow it to cure for a couple of hours before hanging for full durability.
A Gentle Note Before You Go
As you step away from your creative space, take with you the warmth of making. The process of creating this fake stained-glass suncatcher encompasses more than color and light; it holds the essence of your intention and attention. Each piece reflects your personal journey, a testament to the calm and focus you nurtured along the way.
Let it whisper to you in soft hues when the light shines through, reminding you that beauty arises from moments spent in stillness and creativity. Embrace the experience, infusing your surroundings with both color and meaning.
Print
DIY Fake Stained-Glass Window Suncatcher
- Total Time: 35 minutes
- Yield: 1 suncatcher
- Diet: N/A
Description
A simple and vibrant project to create a stunning suncatcher that mimics the beauty of stained glass.
Ingredients
- Clear contact paper
- Tissue paper in various colors (or colored paper)
- Scissors
- A pencil
- Mod Podge or white school glue
- A paintbrush
- Optional: String or ribbon for hanging
- Optional: A frame
Instructions
- Begin by taking a piece of clear contact paper and cutting it to your desired suncatcher size.
- Peel off the backing of the contact paper gently.
- Tear or cut colorful tissue paper into assorted shapes.
- Place the tissue pieces onto the sticky side of the contact paper.
- Take another piece of clear contact paper and place it over your design, if desired.
- Trim the edges of your suncatcher with scissors.
- Carefully place a frame around your suncatcher if using one.
- Attach a string or ribbon to the top for hanging.
- Find a window and hang your suncatcher.
Notes
This project can be done with children under adult supervision. Use different materials and shapes for variation.
- Prep Time: 15 minutes
- Cook Time: 20 minutes
- Category: Craft
- Method: Crafting
- Cuisine: N/A