

Creating a space filled with light and warmth often connects to simple, handmade touches. Picture a calm morning where soft sunlight filters through a window, bringing a rainbow of colors alive in your home. These delicate hues dance across walls and furniture, leaving a gentle reminder of the beauty found in nature and craft. Using little more than your own two hands, you can invite this sparkle into your home with our DIY bioplastic suncatchers. This project becomes not just about the final piece but also about the experience of creating something beautiful and eco-friendly.
The Heart Behind This DIY
Crafting bioplastic suncatchers nurtures a gentle connection to both our surroundings and ourselves. As you begin this project, you slow down and focus on the delicate movements of your hands. Each step invites presence, allowing you to immerse in the textures, colors, and simple joys of making. The warmth of the materials, the sound of your scissors cutting through bioplastic sheets, and the vividness of the hues bring a tactile awareness that inspires calm.
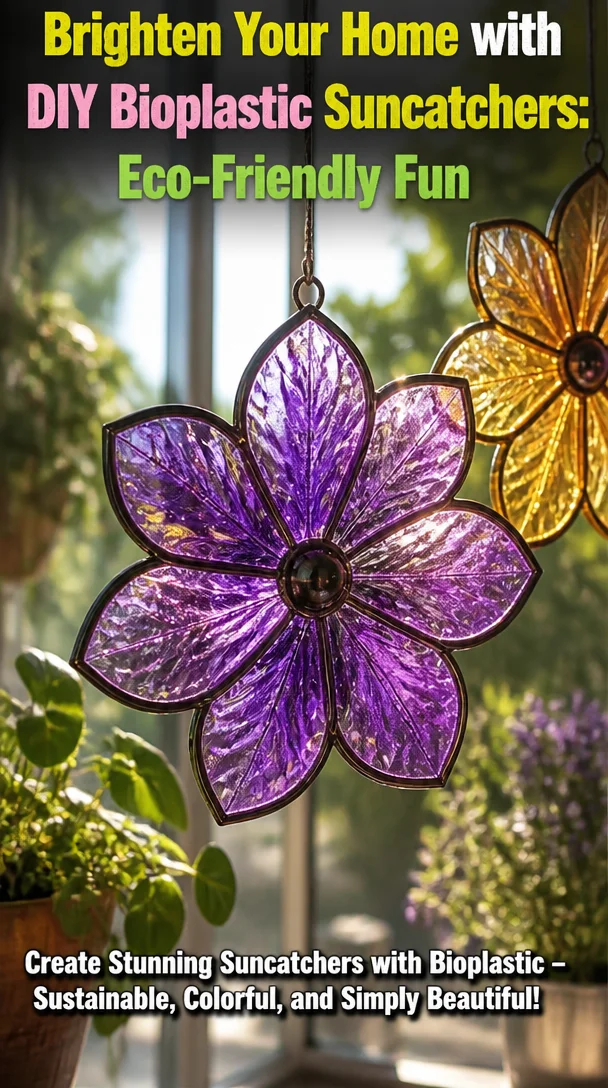
Creating suncatchers like these provides a simple yet profound sense of accomplishment. You witness your careful process transform into a radiant creation. Each time light passes through your bioplastic suncatcher, it shines brighter than before, reflecting the calm creativity harnessed in your gentle making. The transformed space lifts spirits and enhances the everyday experience, elevating not just your decor but your mood as well.
A Gentle Look at the Process
Making these suncatchers unfolds in soft layers. Picture yourself gathering supplies, feeling their textures in your hands, and imagining how they will soon become something new. Slice the bioplastic into shapes, perhaps rectangles or circles, feeling the smoothness beneath your fingertips. Mixing colors adds an inviting rhythm to the experience, with each hue revealing a bit of your personality.
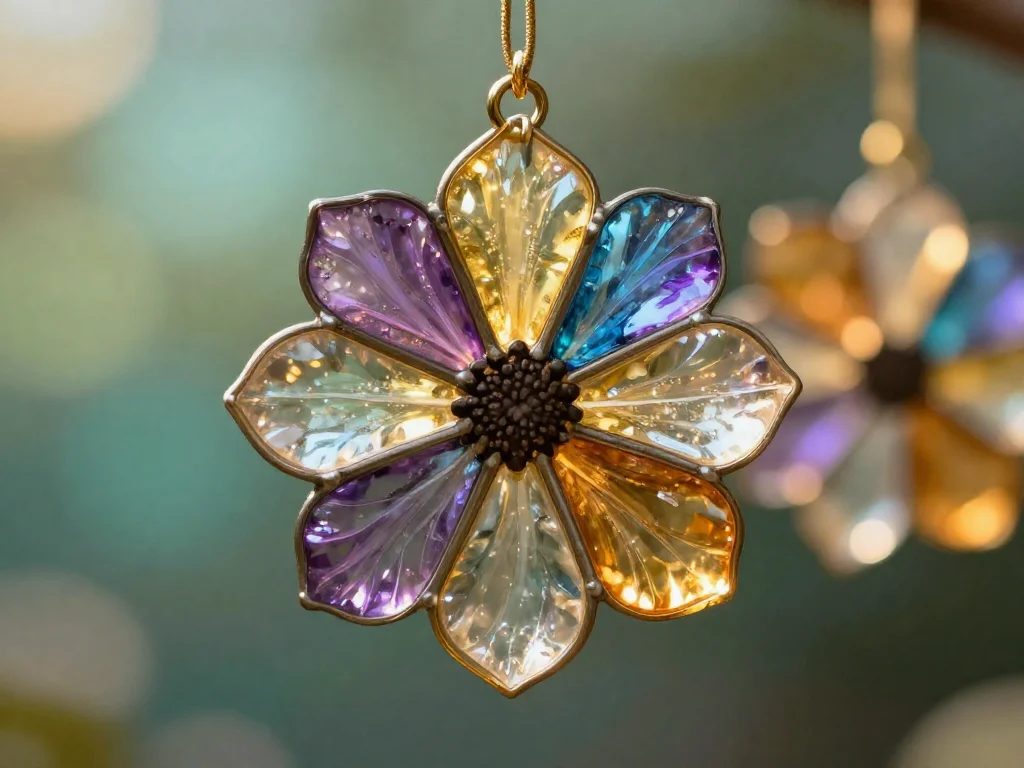
As you lay the pieces together, you prepare for the warmth of the sun’s embrace to transform them. You will place them in the oven, waiting as the sheets melt just enough to blend into beautiful new forms. With the scents of the warm bioplastic wafting gently through the air, you create a delightful anticipation for the artwork to take its final form.
Materials You’ll Need
Gathering materials for this DIY is easy and encouraged to be as personal as you wish. You will need:
- Bioplastic sheets (can be found at craft stores or online)
- Craft scissors (soft grips are ideal for comfort)
- Permanent markers or colored pencils (choose your favorite colors)
- Oven or toaster oven (small ovens work well)
- Baking parchment paper (to protect your trays)
- Hole punch (optional for hanging solutions)
- String or fishing line (for hanging the finished pieces)
All these materials come together in a way that feels soothing and straightforward. Each one holds the potential to unleash your creativity as you combine them into a lovely, reflective art piece.
Step-by-Step Directions
- Start by preheating your oven to 300°F (150°C). The warmth signals a cozy end to your crafting adventure.
- Cut your bioplastic sheets into shapes, thinking about how they will look when the sun shines through them. Enjoy the smooth glide of scissors through the material.
- Color your shapes with markers or pencils. Feel free to blend colors or create patterns that bring you joy. As you color, notice how the act of creating becomes a meditative experience.
- Place your decorated shapes on a baking tray lined with parchment paper, arranging them carefully. The visual balance relaxes your mind and prepares for the transformation.
- Pop the tray into the oven and watch as the pieces soften and blend together, creating beautiful contours. Keep an eye on them, enjoying the anticipation of the changes happening.
- After about 5-10 minutes, carefully remove the tray and allow the pieces to cool. You will feel the sense of stillness and satisfaction in seeing your original designs flourish.
- If you wish, use a hole punch to add a hole for hanging. String or fishing line provides wonderful options for display, allowing your creation to float in sunlight.
- Lastly, find the perfect spot to hang your suncatchers, where light can embrace them fully and bring your space to life. Step back and admire your calming handiwork.
Enjoying the Finished Piece
The beauty of these bioplastic suncatchers lies in their ability to transform a room with simple beauty. This DIY piece, created by your hands, serves as both art and reminder. Once placed in a sunny window, watch as light streams through the colored shapes, casting soft patterns on your walls and floors.
Each shifting rainbow adds a layer of warmth to your space. Perhaps you enjoy them best during a quiet morning with a cup of tea, where their gentle presence encourages moments of reflection—moments to breathe in the colors that dance before you.
You can even choose to share your creations. Gift them to friends or family, spreading joy and adding a personal touch to their homes. Each suncatcher carries the essence of your making experience, reminding others of the beauty in gentle crafting.
Keeping It for Later
Taking care of your bioplastic suncatchers adds to their life and allows them to continue shining for seasons to come. Store them in a safe place, away from heavy objects to prevent bending or breaking. A soft cloth bag also works well if you need to tuck them away for a while.
When it’s time to display them again, simply wipe them down with a clean, soft cloth to remove any dust or fingerprints. You may find that the colors appear even brighter when they are fresh and clean, ready for the next round of sunlight.
Consider reusing these pieces in new ways, too. If you ever tire of a hanging location, try placing them on a windowsill or a table near a light source instead. Shifting their location offers a fresh perspective and revives the warmth of your original crafting moments.
Gentle Tips & Variations
As you embark on your journey with bioplastic suncatchers, remember that your creativity holds no bounds. Here are some gentle suggestions to inspire your process:
- Layered Designs: Consider layering different colors to create depth and intricacy. Mixing hues can bring a new dimension that enchants the viewer.
- Stencils and Shapes: Use stencils for added complexity, or try cutting shapes that mimic flowers, stars, or other natural elements.
- Seasonal Themes: Rotate your suncatchers with the seasons. Create Christmas-themed pieces with wintery blues and whites or bright, lively colors in spring.
- Incorporate Natural Elements: Pressed flowers or leaves can be included in the bioplastic, merging nature with your craft for a serene touch.
- Mindful Making: Try crafting during quiet moments, perhaps with soft music playing or while enjoying a warm drink. Each creation holds the potential to become a meditative practice.
FAQs About Brighten Your Home with DIY Bioplastic Suncatchers: Eco-Friendly Fun
Can I reuse bioplastics?
Yes, you can use the same pieces again. Just reheat them gently to flatten, then start over with new colors or shapes.
How long do these suncatchers last?
With care, your suncatchers can last for years. Store them safely when not in use.
Can I make these with kids?
Absolutely! This project is fun for all ages. Just be mindful of oven use and the hot materials.
What happens if the suncatcher gets wet?
While they can handle a little moisture, they are best kept dry and in sunlight, as water may affect the colors over time.
Can I use clear bioplastic?
Yes, clear bioplastic can create beautiful effects when light shines through. You can add color with paints or markers as well.
A Gentle Note Before You Go
As you finish creating your bioplastic suncatchers, take a moment to reflect on the process. Remember that this journey is as meaningful as the result. Allow the colors and forms to bring you calm, and encourage others to embrace this delightful craft. Each time sunlight streams through your handiwork, cherish the connections you’ve made—both with your materials and with the gentle art of crafting itself.
Print
DIY Bioplastic Suncatchers
- Total Time: 25 minutes
- Yield: 4 suncatchers
- Diet: N/A
Description
Create beautiful and eco-friendly bioplastic suncatchers that transform light into vibrant colors for your home.
Ingredients
- Bioplastic sheets
- Craft scissors
- Permanent markers or colored pencils
- Oven or toaster oven
- Baking parchment paper
- Hole punch (optional)
- String or fishing line
Instructions
- Preheat your oven to 300°F (150°C).
- Cut your bioplastic sheets into shapes.
- Color your shapes with markers or pencils.
- Place your decorated shapes on a baking tray lined with parchment paper.
- Pop the tray into the oven and watch as the pieces soften.
- Remove the tray after 5-10 minutes and allow the pieces to cool.
- Punch holes for hanging if desired using a hole punch.
- Find a perfect spot to hang your suncatchers and admire your handiwork.
Notes
Store suncatchers in a soft cloth bag and wipe them down with a clean cloth for best results.
- Prep Time: 15 minutes
- Cook Time: 10 minutes
- Category: Craft
- Method: Crafting
- Cuisine: N/A