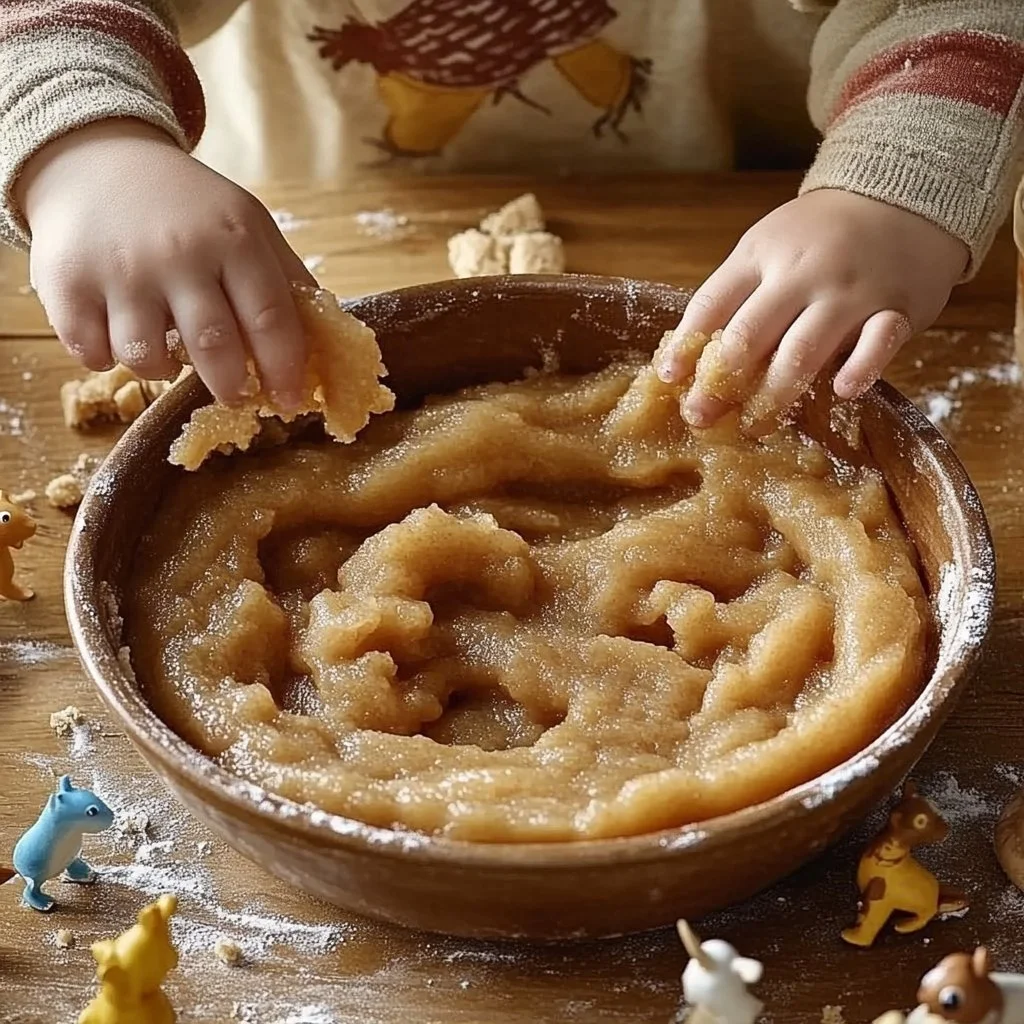
Homemade Quicksand
Growing up in the heart of America, I spent countless afternoons in my grandmother’s bustling kitchen, where laughter mingled with the tantalizing aromas of baking. One of my fondest memories is watching her prepare a sweet, sticky delight we affectionately called "Quicksand." This nostalgic treat became a cherished tradition, particularly during autumn harvests when local ingredients were most abundant.
As the leaves turned golden and the air filled with the scent of cinnamon and nutmeg, Quicksand was our go-to dessert, drawing family and friends around the table for sweet indulgence. The texture was unlike anything else—a chewy, crumbly cookie-like base topped with a rich, gooey layer of chocolate. Its charm lies in its simplicity and decadence, making it a perfect dessert for any season or occasion.
Let me guide you through the process of creating this delightful treat that holds a special place in my heart.
Why You’ll Love This Homemade Quicksand
- Kid-approved: Kids love its gooey texture and sweet chocolate flavor!
- One-bowl recipe: Minimize cleanup and hassle with this easy preparation.
- Perfect for sharing: Brings family together, be it at holidays or casual gatherings.
- Customizable: Switch up the flavors or ingredients to suit your taste.
- Comforting and nostalgic: A dessert that carries the warmth of home-baked love.
Ingredients
- 1 cup all-purpose flour
- 1 cup brown sugar, packed
- 1/2 cup granulated sugar
- 1/2 cup unsweetened cocoa powder
- 1/2 teaspoon baking soda
- 1/4 teaspoon salt
- 1/2 cup unsalted butter, melted
- 1 teaspoon vanilla extract
- 2 large eggs
- 1 cup semi-sweet chocolate chips
Step-by-Step Instructions
Preheat the Oven
- Preheat your oven to 350°F (175°C).
- Grease a 9×13 inch baking pan or line it with parchment paper for easy removal.
Prepare the Batter
- In a large mixing bowl, combine the flour, brown sugar, granulated sugar, cocoa powder, baking soda, and salt.
- Stir the dry ingredients until well-mixed.
- Add the melted butter and vanilla extract to the dry mixture, then crack in the eggs.
- Beat the mixture vigorously until smooth and creamy.
Add the Chocolate Chips
- Gently fold in the chocolate chips until they are evenly distributed throughout the batter.
Bake
- Pour the batter into the prepared baking pan.
- Bake in the preheated oven for 25-30 minutes, or until the edges are firm and the center looks slightly underbaked.
- Remove from the oven and let cool in the pan for about 10 minutes before slicing into squares.
Tips & Variations
- Add Nuts: Chopped walnuts or pecans can add a delightful crunch.
- Switch Out Chocolates: Use white chocolate chips or swap in some peanut butter chips for a different flavor profile.
- Gluten-Free Option: Substitute regular flour with a gluten-free flour blend.
- Add Spices: A pinch of cinnamon or a splash of espresso powder can heighten the chocolate flavor.
Storage Instructions
- Refrigerate: Store in an airtight container for up to 5 days in the fridge.
- Freeze: Place cut pieces in a freezer-safe container, separating layers with parchment paper, and freeze for up to 2 months.
- Reheat: Microwave individual squares for about 15-20 seconds, or heat in a warm oven.
Nutritional Information
- Prep Time: 15 minutes
- Cook Time: 30 minutes
- Total Time: 45 minutes
- Calories per serving: Approximately 200
- Servings: 12
Frequently Asked Questions
1. Can I make this recipe vegan?
Yes! Substitute the eggs with flaxseed meal (1 tablespoon flaxseed meal + 2.5 tablespoons water = 1 egg) and use a dairy-free butter alternative.
2. What can I use if I don’t have cocoa powder?
Carob powder can be used as a substitute, though the flavor will differ slightly.
3. Can I add frosting on top?
Definitely! A simple chocolate or cream cheese frosting would complement the flavors beautifully.
4. How can I tell when it’s done baking?
Look for firm edges and a slightly soft center—the residual heat will continue to cook it as it cools.
Serving Suggestions or Pairings
Pair your Homemade Quicksand with a scoop of vanilla ice cream for an irresistible dessert or enjoy it with a cup of freshly brewed coffee to complement the rich chocolate flavor. A sprinkle of powdered sugar on top can also enhance its visual appeal for parties or gatherings!
Final Thoughts
This Homemade Quicksand is more than just a dessert; it’s a piece of my family’s history—a sweet remembrance of love, laughter, and gathering together. I hope you enjoy making and tasting it as much as my family and I do! I’d love to hear your thoughts—share your versions or leave a comment below! Happy baking!

