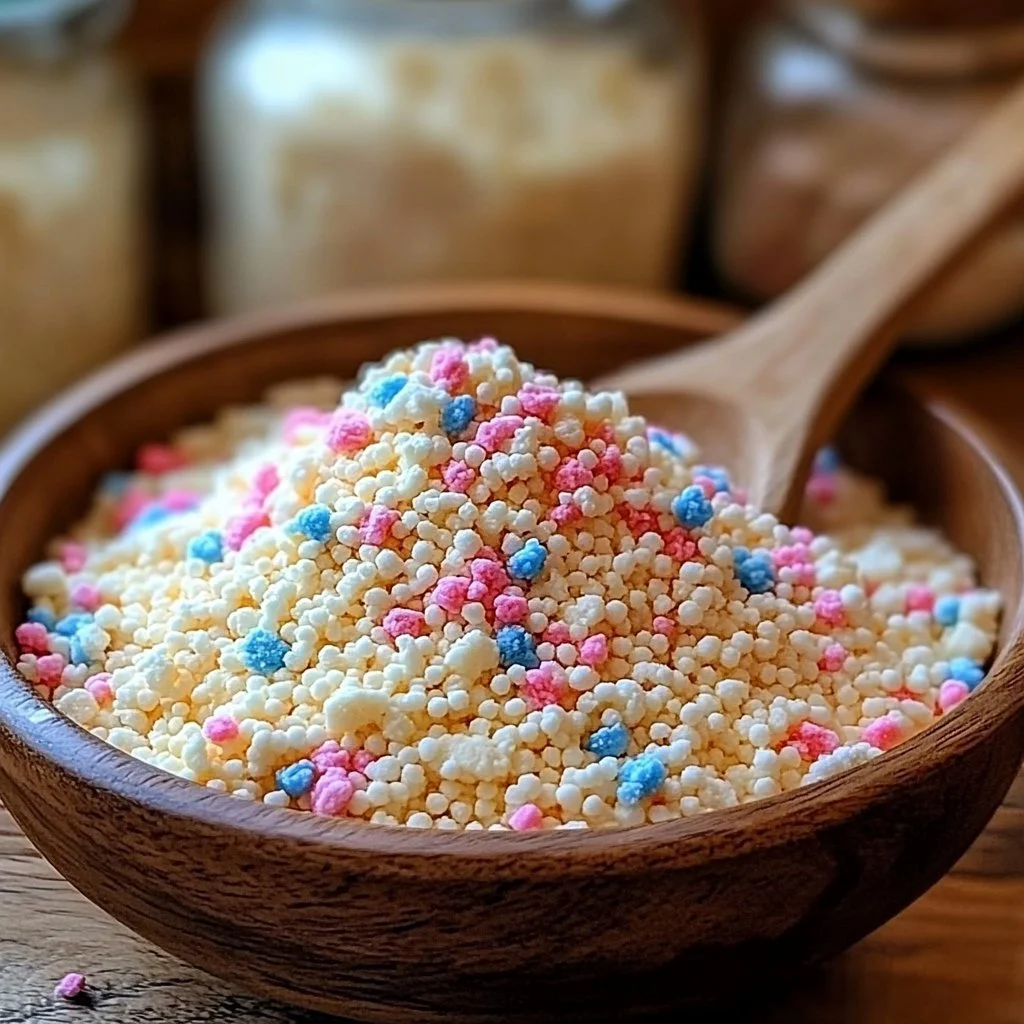
Homemade Kinetic Sand
Growing up in my grandmother’s kitchen, every season brought a new project to bond over. It was there, with flour-dusted countertops and the warmth of her laughter, that I learned the art of creating—whether it was baking fluffy biscuits or crafting fun, tactile materials. One unforgettable summer, we dove into the world of homemade kinetic sand, a delightful way to blend our love for cooking and play. With its moldable texture and vibrant colors, kinetic sand provided hours of joy, all while giving us the perfect excuse to be creative together.
This recipe is not just a nod to childhood; it’s a wonderful seasonal activity that embodies the spirit of summer, bringing families together in an engaging way. Homemade kinetic sand is incredibly simple to make and can be personalized with colors and scents that reflect your family’s tastes. Let’s unlock the fun of this easy, sensory-rich project that will spark creativity in kids and adults alike!
Why You’ll Love This Homemade Kinetic Sand
- Non-toxic and safe for children
- Customizable: choose your favorite colors and scents
- Sensory stimulation to enhance creativity
- Easy clean-up: just vacuum or sweep!
- Perfect for all ages: fun for kids and a nostalgic trip for adults
Ingredients
- 1 cup of fine sand
- 1/2 cup of cornstarch
- 1/2 cup of water
- 1 tablespoon of dish soap
- Optional: Liquid food coloring or natural colorants (like beet juice)
- Optional: Essential oils for fragrance (lavender, lemon, etc.)
Step-by-Step Instructions
1. Combine Dry Ingredients
- In a large mixing bowl, combine 1 cup of fine sand and 1/2 cup of cornstarch.
- Mix well until the ingredients are evenly distributed.
2. Prepare Wet Mixture
- In another bowl, mix 1/2 cup of water and 1 tablespoon of dish soap.
- If you’re adding food coloring or scent, incorporate it into the wet mixture now.
3. Combine Mixtures
- Gradually pour the wet mixture into the dry mixture.
- Stir until everything is combined, and the mixture begins to clump together.
4. Knead Into Shape
- Once combined, use your hands to knead the mixture for about 1-2 minutes until it becomes smooth and pliable.
- If it’s too dry, add a tiny splash of water; if it’s too wet, sprinkle in more sand.
5. Playtime!
- Your homemade kinetic sand is now ready to mold and shape. Enjoy creating intricate designs and sculptures!
Tips & Variations
- Color Variations: Experiment with different food colors for vibrant shades or try natural options like turmeric for yellow or spirulina for green.
- Scent Options: Customize the smell by adding your child’s favorite essential oil to enhance the sensory experience.
- Consistency Check: If the sand is too sticky, add more cornstarch; if it falls apart easily, add a hint of water.
Storage Instructions
Keep your kinetic sand in an airtight container at room temperature. It can last up to a month if stored properly. If it dries out, try rehydrating with a few drops of water and mixing.
Nutritional Information
- Prep time: 10 minutes
- Total time: 10 minutes
- Calories per serving: Not applicable (Non-edible)
- Servings: N/A (as it’s a sensory play material)
Frequently Asked Questions
1. Can I use regular beach sand?
Yes, just ensure it’s fine and clean. Avoid using sand from construction sites due to possible contaminants.
2. Is this kinetic sand safe for younger children?
Absolutely! It’s made from non-toxic materials, and kids can play with it safely. Always supervise playtime for very young children.
3. How can I make scented kinetic sand?
Add a few drops of your favorite essential oil to the wet mixture for a delightful scent.
4. What if my kinetic sand dries out?
Add a tiny amount of water and mix thoroughly to restore its texture.
Serving Suggestions or Pairings
While this kinetic sand is for play and not for eating, it pairs wonderfully with summer crafts! Consider setting up a crafting station next to it with beads, small molds, and other art supplies for a full sensory experience.
Final Thoughts
Creating your own homemade kinetic sand is an excellent way to introduce the joy of crafting to your family. It’s a deliciously tactile experience that blends fun and creativity in one easy recipe. I would love to hear how your version turns out, so please share your experiences or variations in the comments below! Let the play begin!

