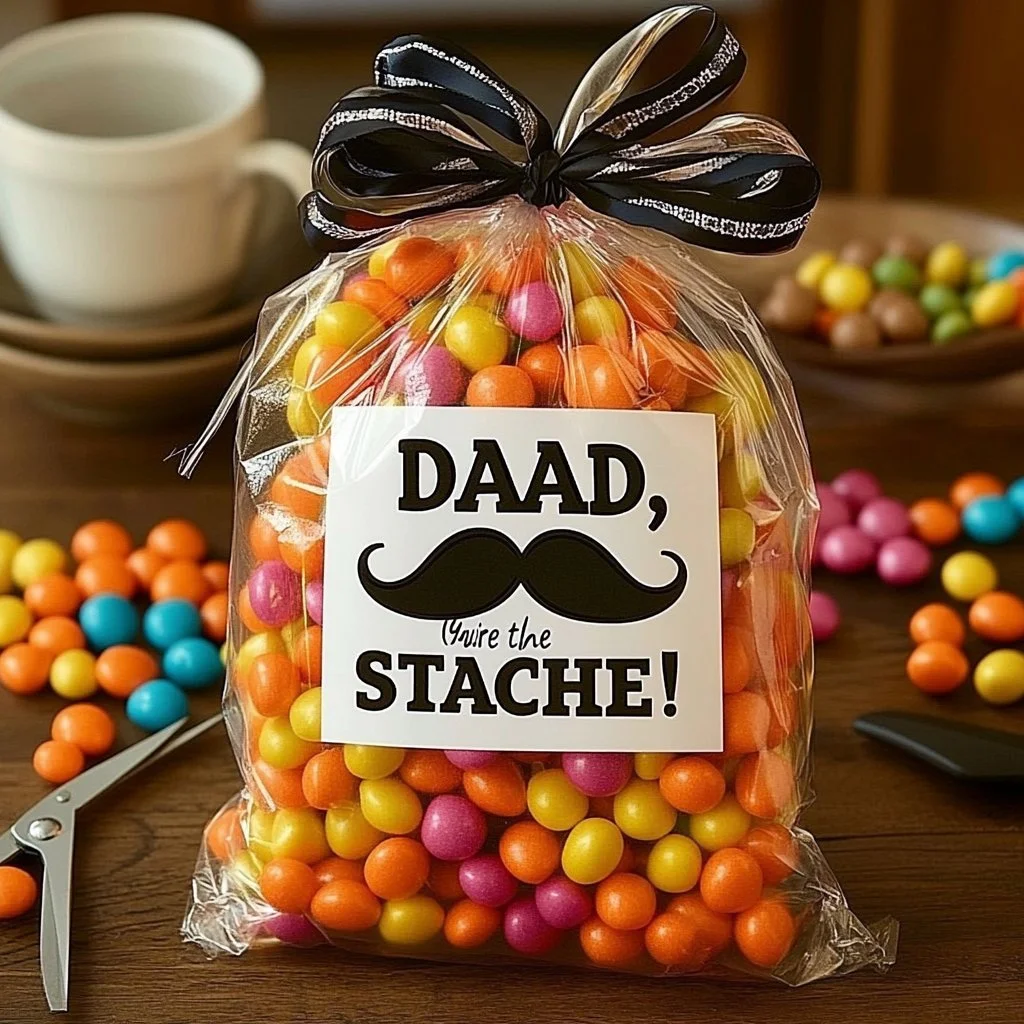
Mustache Treat Bag
Growing up, the aromas of my grandmother’s kitchen filled the air, weaving their way into family gatherings and cherished celebrations. One of my favorite memories includes a particular festive occasion when Grandma decided to add a whimsical touch to the usual spread of treats. She brought out the most delightful mustache-shaped cookies, cleverly tucked into charming little bags, which instantly became the stars of the dessert table. These Mustache Treat Bags soon became a seasonal tradition, especially during the holidays, where laughter and storytelling accompanied each bite.
What makes this recipe special is not just the fun mustache shape but also how it brings everyone together, young and old alike, igniting joy and creativity. With a few simple ingredients and a little crafting, these delightful bags are perfect for parties, gifts, or just a fun afternoon at home. Let’s dive into making something that’s as tasty as it is entertaining!
Why You’ll Love This Mustache Treat Bag
- Fun and Whimsical: Perfect for parties, especially birthday celebrations or themed events.
- Customizable: Personalize with different flavors and fillings that everyone will love.
- Kid-Approved: A delightful treat that kids can help make.
- One-Bowl Recipe: Simple preparation means less mess for more fun!
- Seasonal Glee: They’re ideal for holidays, providing a festive flair.
Ingredients
-
For the Cookies:
- 1 cup unsalted butter, softened
- 1 cup granulated sugar
- 1 large egg
- 1 teaspoon vanilla extract
- 2 ½ cups all-purpose flour
- ½ teaspoon baking powder
- ¼ teaspoon salt
-
For Decoration:
- 1 cup powdered sugar
- 2 tablespoons milk
- Food coloring (optional)
-
For Treat Bags:
- Mini treat bags or paper bags
- Decorative twine or ribbon
Step-by-Step Instructions
1. Prepare the Dough
- In a large bowl, cream together the softened butter and granulated sugar until light and fluffy.
- Beat in the egg and vanilla extract until fully incorporated.
2. Mix the Dry Ingredients
- In a separate bowl, whisk together the all-purpose flour, baking powder, and salt.
- Gradually add the dry mixture to the wet ingredients, stirring until a dough forms.
3. Chill the Dough
- Wrap the dough in plastic wrap and refrigerate for at least 1 hour. This will make it easier to roll out.
4. Shape and Bake
- Preheat your oven to 350°F (175°C).
- On a floured surface, roll out the chilled dough to about ¼ inch thickness.
- Use a mustache cookie cutter to cut out shapes and place them on a baking sheet lined with parchment paper.
- Bake for 10–12 minutes or until the edges are lightly golden.
5. Decorate
- In a small bowl, whisk together powdered sugar and milk until smooth. Add food coloring if desired.
- Once cookies are cooled, dip or drizzle the icing to create a fun, colorful mustache look.
6. Assemble Treat Bags
- Once the decorated cookies are dry, place them in treat bags and tie them securely with twine or ribbon.
Tips & Variations
- Cookie Shapes: Use different cutters to create a variety of fun shapes apart from mustaches.
- Flavor Variations: Enhance flavor by adding lemon zest or almond extract to the dough.
- Dietary Needs: Substitute all-purpose flour with gluten-free flour for a gluten-free option.
Storage Instructions
- Refrigerate: Store decorated cookies in an airtight container in the refrigerator for up to 1 week.
- Freeze: Freeze unbaked cookie dough for up to 3 months. Simply thaw in the refrigerator before baking.
- Reheat: If desired, warm cookies in a microwave for about 10 seconds for that fresh-out-of-the-oven taste.
Nutritional Information
- Prep Time: 15 minutes
- Cook Time: 12 minutes
- Total Time: 1 hour 27 minutes (including chilling time)
- Calories per serving: Approximately 120 calories (per cookie)
- Servings: About 24 cookies
Frequently Asked Questions
1. Can I use store-bought cookie dough instead?
Yes! You can use store-bought dough for a quicker version, just ensure it’s well-chilled for easy handling.
2. How can I make these gluten-free?
Substitute all-purpose flour with a gluten-free flour blend, and ensure other ingredients are certified gluten-free.
3. Can I add other flavors to the icing?
Absolutely! Feel free to add vanilla extract or other flavorings to enhance the icing.
4. How can I package these for gifts?
Decorate treat bags with personalized tags and festive ribbons to make them extra special!
Serving Suggestions or Pairings
- Pair these treats with a fun hot cocoa or an iced tea for afternoon tea parties.
- Consider serving them alongside a fruit platter for a balanced snack table.
Final Thoughts
These Mustache Treat Bags are not just a whimsical dessert but a fabulous way to create joy and laughter with family and friends. I hope you feel as excited to make these cookies as I do! Be sure to share your versions or ideas in the comments below—I’d love to hear how you make these treats your own! Happy baking!

